For players / ROBLOX
Your first Cloud Nests egg: from the central garden to a pet
A step-by-step first-session plan: find an egg, follow the route to your incubator, check hatching, understand coins and choose a nest goal.
Where Cloud Nests begins #
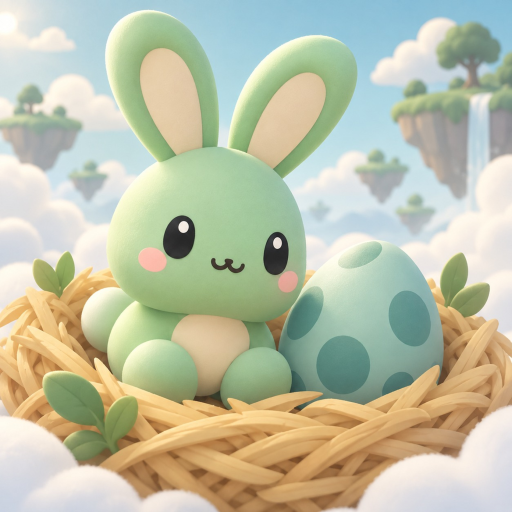
Cloud Nests is a game by this site’s author about collecting eggs, hatching pets and developing a nest. Its public description mentions pet-earned coins, base expansion, speed training, quests, a collection and golden and rainbow mutations. This guide uses that description and proposes an introduction; it does not claim a personally completed play session.
Start with one clear goal: carry the first egg from the central garden to your own incubator and understand the result. Exploring every nest, seeking rare pets and selecting every upgrade at once makes the first session harder to evaluate. Completing a small action helps establish what comes next.
1. Find the first egg in the central garden #
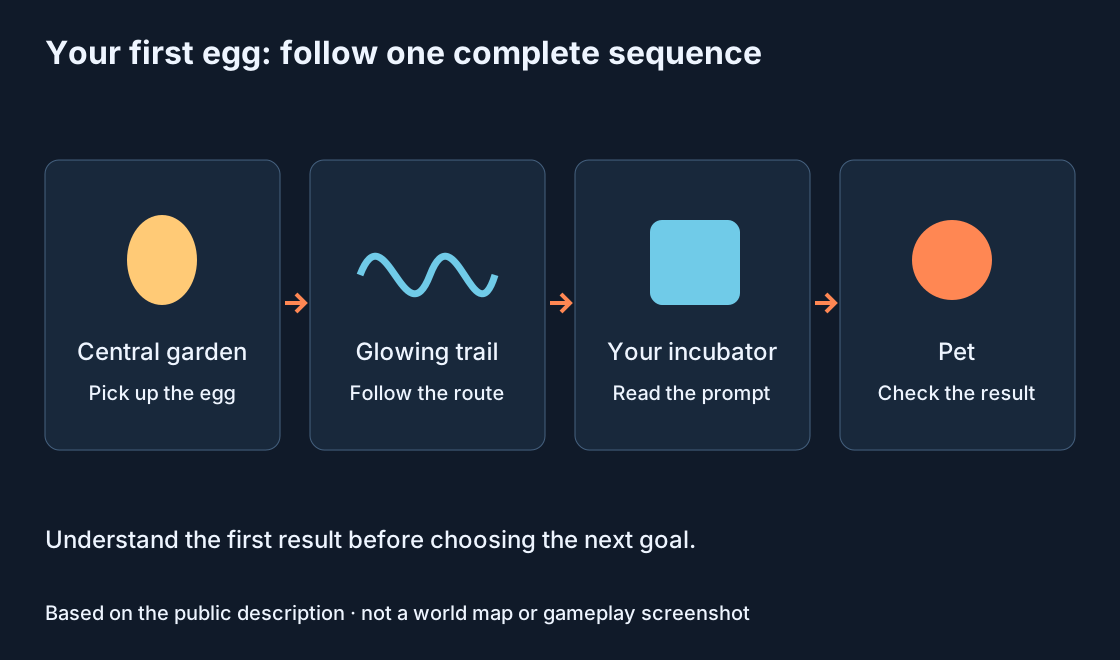
The game description directs beginners to an egg in the central garden. Locate that area and inspect the available items. Approach the egg and read its current interaction prompt. No universal pickup key is established in the public description, so this article does not invent one. On mobile, use the displayed action too.
After interacting, check that the game responded: look for a understandable sign of carrying the egg, a changed prompt or an available next action. The exact interface can change. If nothing happened, first check proximity and the prompted action. A decorative object should not automatically be treated as a usable egg.
2. Follow the glowing trail #
The description identifies a glowing trail leading from the first egg to your incubator. Use it as the main guide and leave neighbouring bases for later. Our diagram shows the action sequence rather than exact world coordinates; it does not replace current in-game guidance.
If you lose sight of the trail, stop somewhere safe, turn the camera and recover the last clear direction. Do not select another player’s incubator merely because it is closer. The first exercise is following the starter route to your own place, not guessing every nest’s layout at once.
3. Complete the incubator interaction #
At your incubator, read the prompt and perform the available egg action. Observe the state offered by the current version: a process beginning, waiting or a completed hatch. The public description gives neither a precise duration nor a button name, so this guide invents no timer.
Stay long enough to understand the state change instead of immediately beginning another chain of actions. Check whether the outcome can be connected to your egg. If the interaction fails, review three points: the egg was actually collected, this is your incubator, and the current action was performed. Arriving beside the object alone does not establish completion.
4. Understand pets and coins #
The description says pets earn coins. After learning to hatch, inspect the available pet and nest information. If the interface shows a balance or income, note a starting value and observe changes. This is a method for understanding the system, not a promise of a fixed earning rate.
Avoid applying figures from an old video to your present version. We have no verified income rates, full price list or optimal pet ranking. For the first session, understand the relationship between pets, coins and your chosen goal. Record values actually displayed rather than assumed returns.
5. Choose one development goal #
After the first pet, choose one task: expand the nest, understand a quest, train speed or continue collecting. These directions appear in the description, but inspect their conditions in the game. Read the price and expected effect of an available upgrade before deciding whether it serves your goal.
A bright icon does not make a purchase best. Ask what problem it solves now. If learning hatching is the goal, speed may not answer that question; when exploring movement it may be more relevant. This is a decision exercise rather than a proven maximum-income strategy.
6. Check protection before leaving #
The description mentions a shield and taking unprotected eggs. Before leaving your nest, understand the available protection and its current state. Look at actual conditions: availability, activation indication and any explanation of limitations.
This guide assigns no unknown shield duration, cost or automatic renewal. Seeing the word shield earlier does not establish current protection. Check before your next action. If an egg disappears, record what you did and what protection was shown, instead of immediately assuming a single cause.
Mutations, issues and your session review #
Golden and rainbow mutations are mentioned, but exact probabilities are unknown. A few unsuccessful attempts do not establish that the next rare result is guaranteed. Look for a current explanation before changing your strategy. Cloud Nests is labelled a test version with visuals and balance still changing.
Finish with a short review: found the egg, understood pickup, reached your incubator, observed a result, chose a next goal and understood protection. For a problem, identify device, location, action and expected outcome. A missing prompt, a lost route and a failed interaction are different issues and should be reported separately.