Development / ROBLOX
Roblox ProximityPrompt: deciding when the server may allow an interaction
Follow a practice door from its visible prompt to a permitted state change. Plan checks for the character, target, distance and repeated actions, then keep an understandable test record.
Define one permitted action first #
Use a small independent prototype containing a door called PracticeDoor. For the first exercise, a permitted opening and a recorded outcome are enough. Leave currency, inventory and permanent saving out of this task so you can identify the step responsible for each state change. Describe who may open the door and under which conditions in one ordinary sentence.
Your chosen prototype might permit a living character near an available door after a practice permission has been granted. That is an exercise rule, not a Roblox-wide default. No Studio session or published-game test was performed for this article. We are proposing a plan for the author to check their own handler, without reporting imagined results.
Separate the prompt from the decision #
The player sees a label and a button before attempting an interaction. These elements explain the controls. They do not fully represent the current server state of the door, character or permission. If a label remains visible after conditions change, it cannot establish that the opening is still permitted.
Sketch three stages: the interface offers an action, an event indicates an attempt, and the server evaluates the rule before changing the target. Include rejection in the last stage. This produces better debugging questions: “Why was this attempt rejected?” or “Why did a change occur without its required condition?”, instead of treating every problem as a broken button.
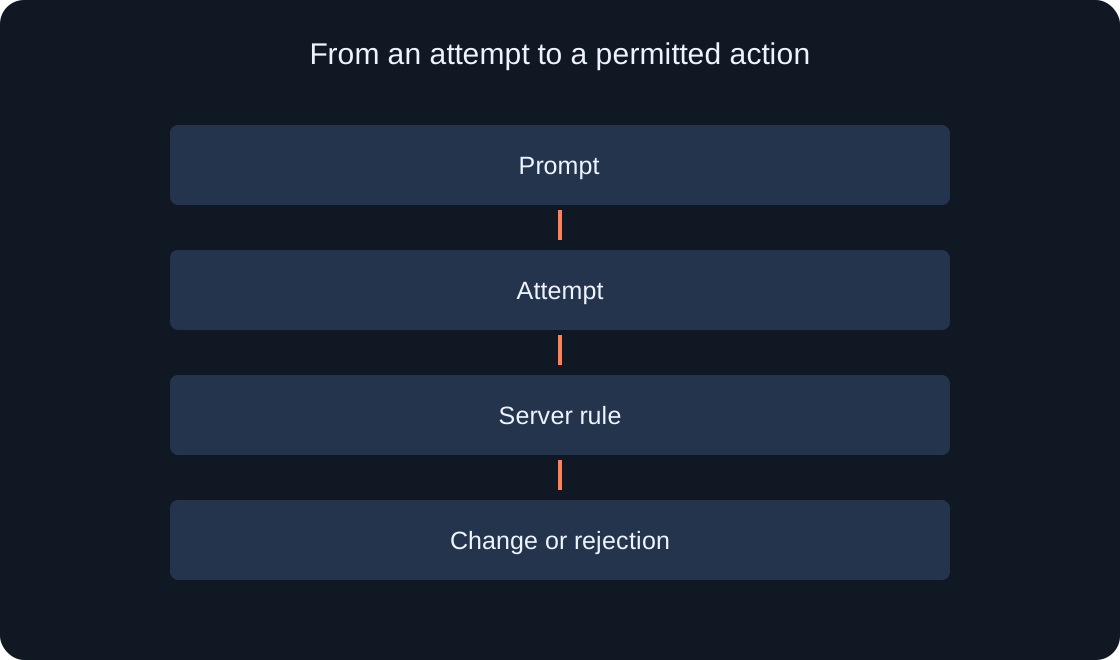 Open full-size image ↗
Choose an event with a precise meaning #
ProximityPrompt has several events. The security documentation specifically identifies a built-in server distance check for Triggered. Do not assume the same guarantee applies to PromptButtonHoldBegan or TriggerEnded. Different interaction stages are not interchangeable reasons to change game state.
Record which event the practice-door handler receives and where it makes its decision. Showing a prompt or starting a hold should not, by itself, award a reward. Even when using Triggered, the other rules of your mechanic still matter: an eligible character, an available object and the required state. This guide does not supply a universal interaction handler.
Write a server-side target record #
Document the intended door, its expected location and the server reference used to identify it. PracticeDoor is an illustrative name. Another part with the same name does not become an approved target. If the intended object disappears or leaves its expected structure, the planned interaction should finish without modifying unrelated objects.
Record availability and the permission condition separately. A practice flag controlled by the prototype server is sufficient; a paid-access system is unnecessary for this exercise. What matters is knowing where permission comes from and what happens when it is absent. Reset and record the starting state for each case so an old opening does not masquerade as a new successful result.
Check the character and interaction zone #
Before changing the door, identify the current character and its eligibility using server information. During respawn or departure, an earlier reference may no longer describe the present situation. Plan separate cases for a missing character and one that cannot interact under your prototype's rules.
Describe the permitted zone, including the reference point, comparison method and chosen boundary. There is no universal distance for every map. Prepare a clearly near position, a clearly far position and then a boundary case. One successful nearby attempt says little about excessive distance or a changed character, so it cannot finish the validation plan by itself.
Consider a stationary interaction point #
If a critical interaction point should stay in place, design it as an anchored part. The documentation highlights network-ownership concerns for movable parent parts and assemblies. Measuring distance to a target that can move is a different scenario from measuring distance to a stationary door.
Keep the first exercise's geometry simple and record the point's position. A movable chest or vehicle should not automatically be “fixed” by anchoring its entire assembly; it needs a separate physics-control design. Here we deliberately choose a stationary practice door to isolate interaction permission from complex assembly behavior. No live network-ownership experiment was conducted.
Distinguish frequency from duration #
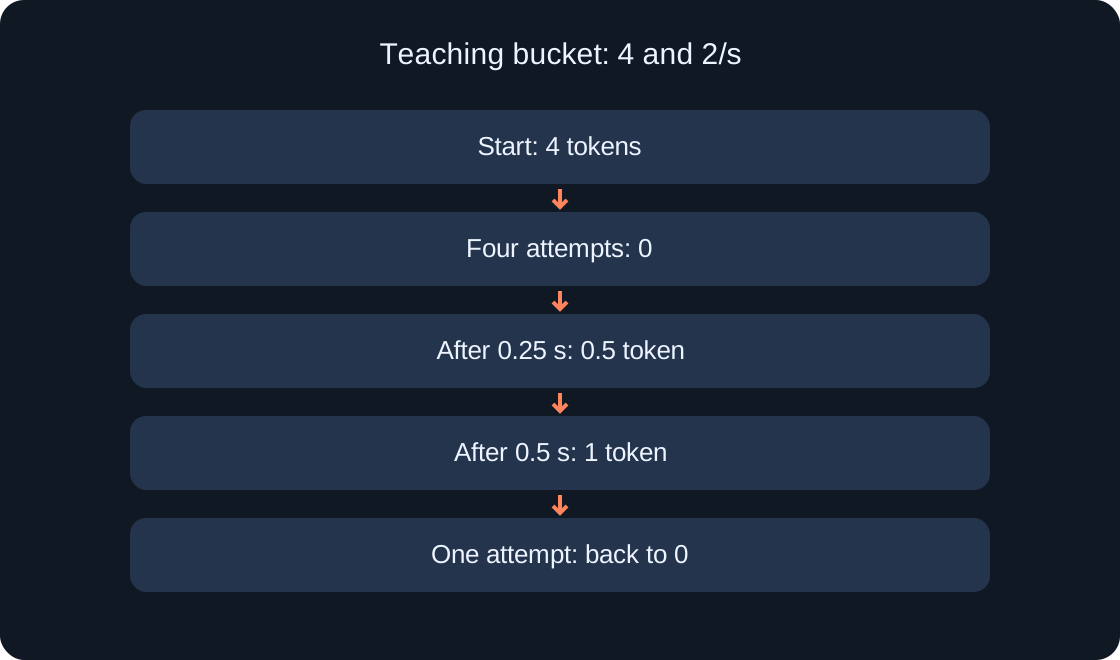
Repeated attempts and an interaction completed too quickly are different questions. The server enforces the chosen frequency rule for repeats. If the action requires a minimum duration, check the corresponding server condition; a client-side progress animation is not proof that the requirement was satisfied.
Write these rules before testing, including a permitted retry after a pause and the meaning of cancellation. A cooldown is not a guarantee of exactly one grant: frequency control does not replace state transitions or tracking an accepted action. For a simple door, decide what another opening attempt means when it is already open. This article gives neither universal timing values nor a ready-made hold implementation.
Work through individual test cases #
Start with the expected permitted case in your own prototype, then vary one condition at a time: distance, permission, availability or character state. Record the state before and after each attempt. This connects the result to a specific condition instead of several settings that changed together.
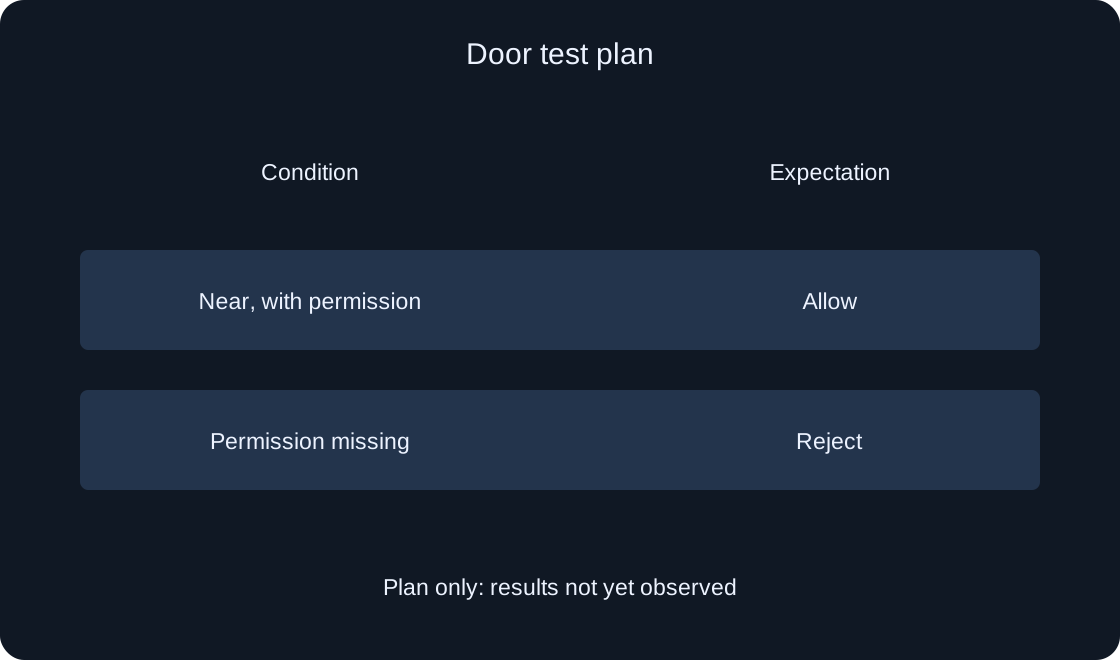
After the individual cases, separately plan a repeat and two permitted attempts close in time. For a one-time mechanic, define in advance which change may happen only once. These remain author-run tasks; the table contains proposed expectations rather than completed tests. Do not trigger events in other people's games to test this guide.
 Open full-size image ↗
| Case | Proposed expectation |
|---|---|
| Eligible nearby character | One intended action |
| Permission missing | No change |
| Door unavailable | No change |
| Repeat too soon | Enforce the server frequency rule |
Record the server outcome clearly #
The record should contain the starting conditions, received event, acceptance or rejection reason and actual door change. A client message can explain that the door is unavailable, but a test record must distinguish that display from a server result. “Open” on the screen does not prove that an unchanged door opened.
Use short reasons such as unavailable object, ineligible character, excessive distance, missing permission or excessive repetition. Public messages need not reveal internal project secrets. For debugging, associate each case with its relevant rule step. Also identify an accepted attempt whose subsequent action failed: permission and execution are separate stages.
State the limits of the conclusion #
The exercise should leave you with a checkable interaction rule and your own observation log. Once you run it, distinguish cases that passed, cases needing repairs and cases not yet tried. A normal opening or a quiet interface cannot establish that the entire mechanic is secure.
Rewards, purchases, persistence and multiple servers need additional scenarios. This material includes no changes to our game code, actual item grants or Studio test results. Its diagrams explain decision stages and condition records originally. Before moving the rule into a larger project, review its connections to that project's logic and repeat behavior.
| Record | Keep |
|---|---|
| Start | Character, door and conditions |
| Event | Exact name and context |
| Decision | Acceptance or rejection reason |
| Change | Actual before and after state |
Original sources
Roblox Creator Hub — Securing the client-server boundaryRoblox Creator Hub — ProximityPrompt API