Studio / ROBLOX
Client and server in Roblox Studio: compare state during a test
Identify the side of a test you are observing, locate an object, and relate Explorer observations to Output. Use a practice marker, a clear record, and a check after stopping.
Ask a precise state question #
“The object changed” is not enough to diagnose a problem. Specify where you saw it: the client view, the server hierarchy, or a log. Choose one harmless element in a separate prototype, such as an anchored Part named ContextMarker. Avoid using currency, purchases, or a player's saved data as an exercise indicator.
Our question is: “What property value can I observe on each side of this test?” That differs from comparing several players or testing persistence between visits. Record the starting path Workspace → ContextMarker and one property, such as Color. The marker is a proposed exercise; no owned experience or Studio test was modified or run for this article.
Start a suitable testing mode #
Choose Test or Test Here from the testing dropdown and start the simulation. The documentation describes separate client and server simulations for those solo modes. Test inserts a character, while Test Here uses the area in front of the current camera. This exercise does not require launching several client windows.
Do not substitute Run for a normal player route without considering the difference: Run does not insert an avatar. Record the selected mode and starting conditions before comparing observations. If the prototype requires a character, check that it appears. Records from different modes may reflect different starting conditions, so begin with one consistent configuration.
Identify the active side #
During a solo playtest, use the Client/Server toggle. Its current state identifies the simulation you are viewing. Record that side before reading a property and check it again after switching. A camera near the same object does not establish the same context; similar views of the world can still belong to different sides.
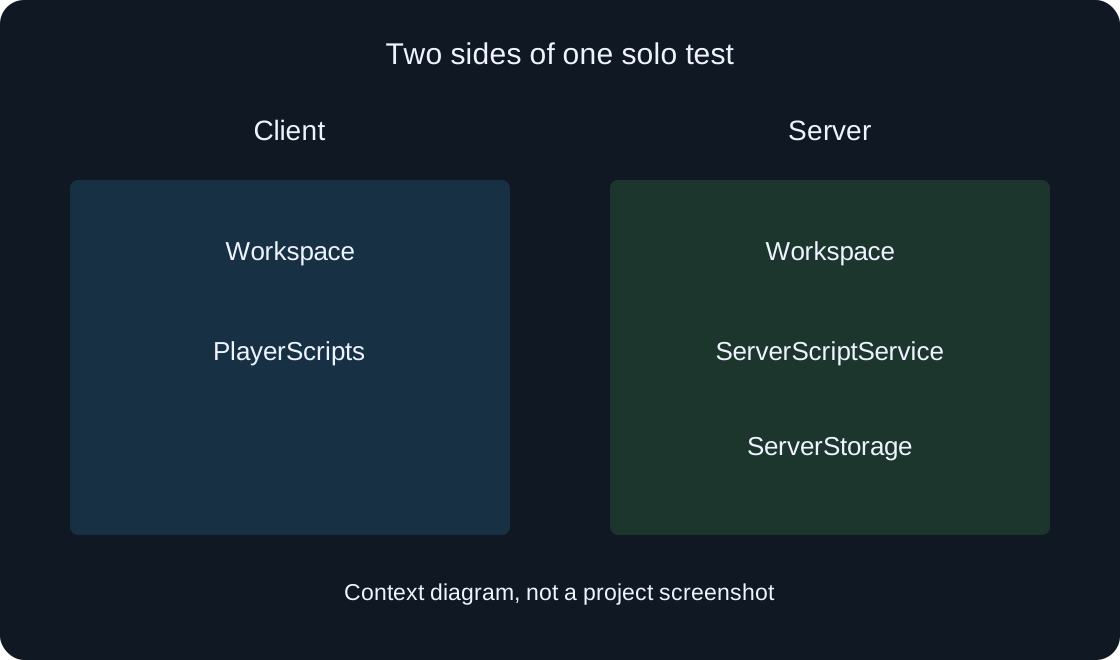
Label records “Client” and “Server,” retaining the wording used by Studio. An unlabeled hierarchy screenshot can easily be mistaken for another observation later. The two panels in our teaching diagram represent contexts, rather than two actual players. They are neither screenshots of Studio nor evidence from a running project.
Locate the object by its complete path #
In Client mode, open Explorer and locate the chosen path. Switch to Server and inspect the same path and property. Check both the parent and name; a similarly named ContextMarker in another model is a different object. If the object is absent, record that absence rather than inventing the value you expected.
The hierarchies differ by context. Roblox documentation illustrates client PlayerScripts and server ServerScriptService and ServerStorage. An object existing in server storage does not by itself establish client access. With streaming enabled, a client may also receive only part of Workspace initially; that is a separate question from a spelling mistake in a name.
 Open full-size image ↗
Save the initial observation pair #
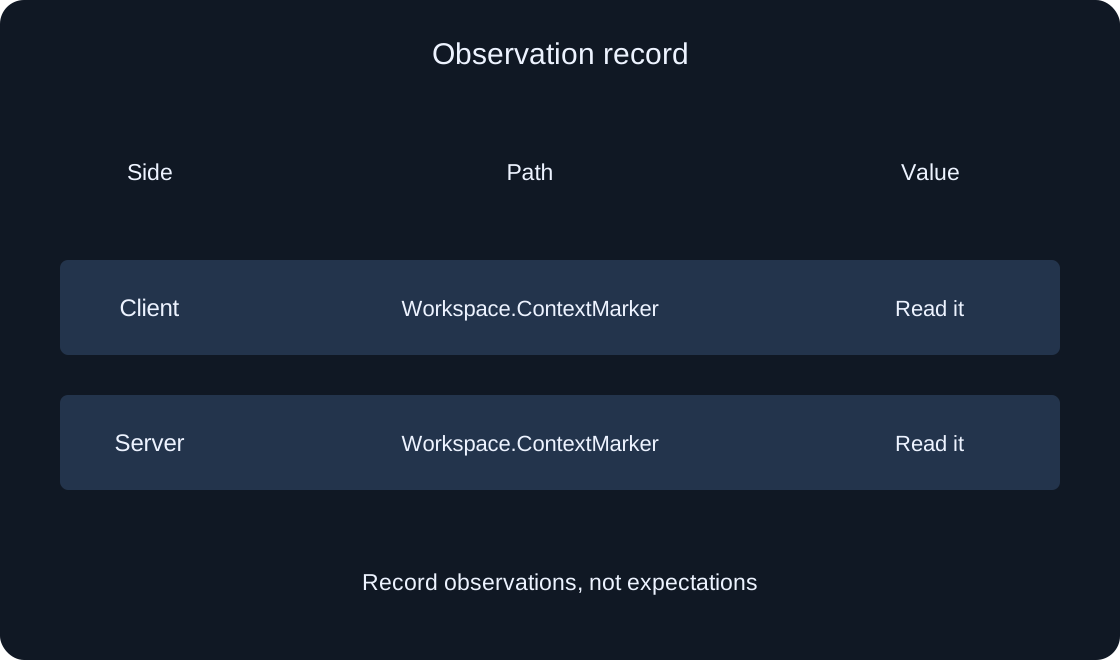
Before changing anything, record two rows: Client, full path, observed value; Server, the same path, observed value. Add the observation time or scenario step. Do not call the values identical until you have read both. The table in this guide describes a recording format, rather than a completed log from our own test.
If they differ already, first check whether an existing script changes the property or whether you compared different objects or moments. Avoid adding new behaviour on top of an unexplained baseline. A simple separate prototype makes the practice marker easier to understand, because you can identify what might affect its selected property.
 Open full-size image ↗
Change one thing and compare again #
In a separate practice test, select Client mode and edit just one observed marker property through Properties. Immediately record where the edit happened, then read the value on both sides. The purpose is to distinguish the place of an action from the place of an observation, rather than establish a universal rule for every Roblox property.
Stop, return to the starting conditions, and make a separate comparison with a server-side edit. Do not combine both changes into an unrecorded sequence: a server script, delay, or later edit could affect the observation. If the outcome differs from your expectation, preserve both records and their conditions instead of declaring replication broken from one colour.
Relate the observation to Output #
Open Output and inspect message origin. Roblox documents blue labels for client messages and green labels for server messages; a ModuleScript message depends on which side called the module. Label colour is a useful additional cue, but diagnosis also needs the message itself and the path to its source.
If the prototype already has diagnostic output, compare its time and object with the Explorer record. A message saying “ready” without the relevant side or value explains little. In a fictional case, a UI label says “selected” while the log concerns another object. Matching words do not prove that the server confirmed this particular action.
Check script type and location #
When the expected message is missing, inspect the script's type, location, and RunContext when it is a Script. Its icon or the word Script alone does not determine the execution side. Roblox's location guide explains that a Script can execute on client or server according to context and location, while a LocalScript runs on the client.
Do not move working scripts randomly to produce an Output line. Record their paths and settings first, then compare those with the official location guide. For a ModuleScript, the caller matters too. Moving code can introduce extra execution or a different problem, so treat every change as a reason for a separate observation.
| Check | Why it matters |
|---|---|
| Script | Location and RunContext |
| LocalScript | Client context and suitable location |
| ModuleScript | Which side calls the module |
Distinguish stopping from saving #
Stop ends the simulation and returns objects to their pre-test state. After stopping, inspect the starting marker again in edit mode. A change observed only during simulation is not automatically a saved project edit. Record exactly where the edit was made instead of inferring persistence from a temporary viewport result.
This exercise does not verify a DataStore, purchase, or a new visit to a published experience. A successful comparison between contexts does not establish data persistence between sessions. Those questions need a separate scenario with suitable sources and conditions. Do not add a permanent-save conclusion to a record about observing a colour.
Write a bounded conclusion #
Record the test mode, editing side, both observation sides, path, property, sequence, and related Output message. State the result precisely: “This value was observed on this side at this step.” List untested questions separately, including other clients, networking, rejoining, or actual gameplay logic.
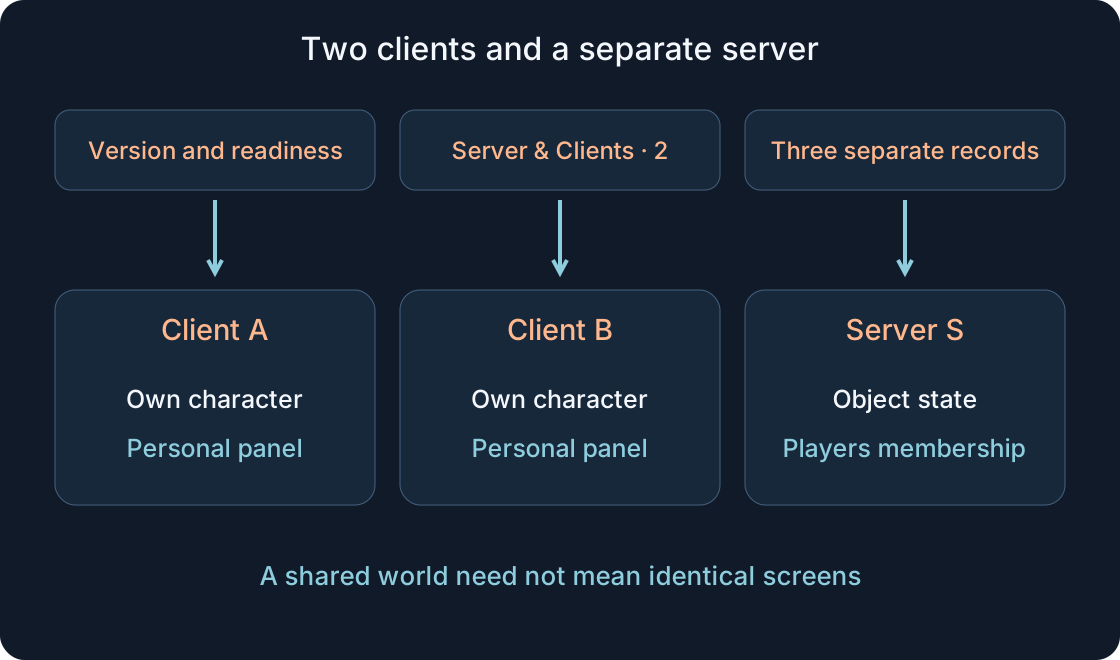
After a fix, repeat the same scenario from the original conditions. If the question concerns what other players see, use a separate Server & Clients test; toggling alone does not replace it. This guide provides an original method and teaching diagrams. It does not claim real Studio results, owned-game changes, or replication measurements.
| Record | What to save |
|---|---|
| Start | Mode and starting conditions |
| Edit | Side, path and one property |
| Observation | Both sides and Output message |
| Conclusion boundary | Questions not yet tested |
Original sources
Roblox Creator Hub — Studio testing modesRoblox Creator Hub — Client-server runtime
Roblox Creator Hub — Script types and locations