Studio / ROBLOX
Why players get lost: the story of a practice level
An imagined design case: use four clear roles, a visible destination and observations of the first action to improve a route.
The scene at the beginning #
Imagine a practice level with a floor, a spawn, several similar platforms and a large decorative object. Its author knows which platform is the goal because they placed it. A new player sees several equally prominent directions and chooses one without knowing the intended destination.
This is an imagined design exercise, not a report about testing a particular game. We need no invented retention figures or quotations. Our question is practical: which signals inside the scene explain where the route starts, where to go and how to recognise completion?
The tempting solution: add more instructions #
It is tempting to add ten platforms, large arrows and a long explanation board. But if everything competes for attention, the player still has to interpret too many signals. Reading an instruction can become a substitute for understanding the space.
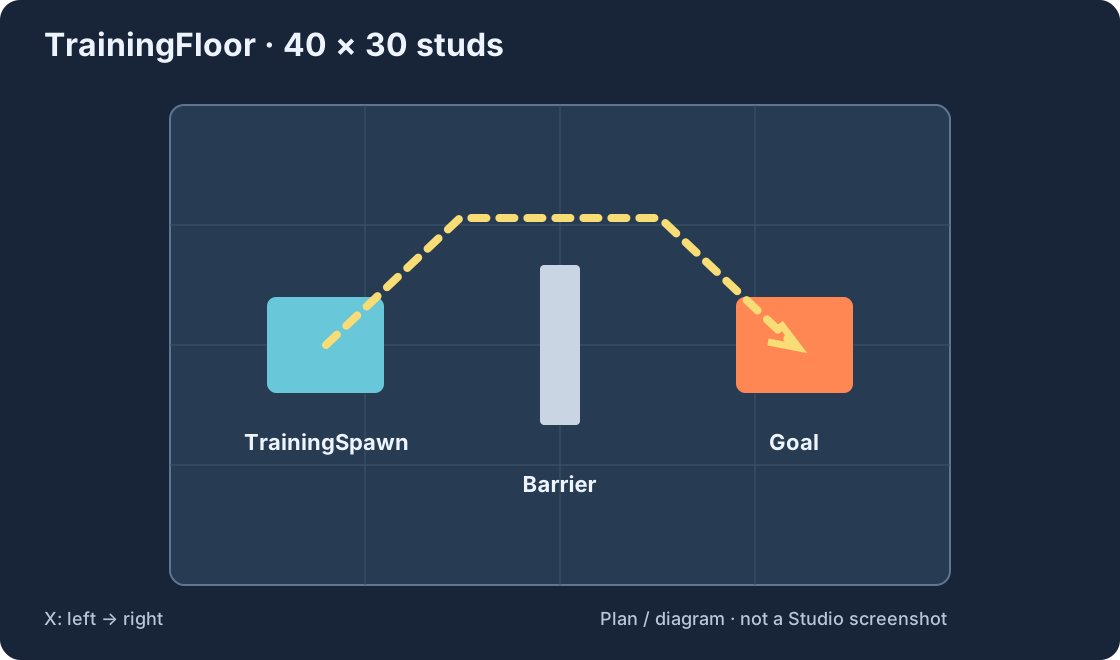
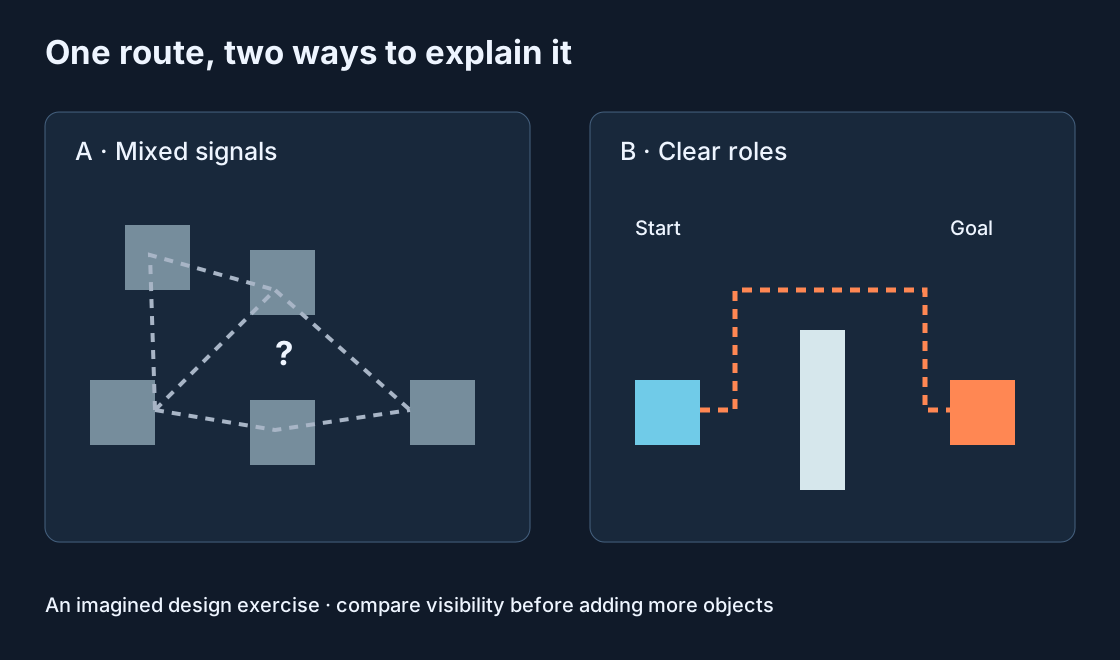
For this case, remove optional objects and keep four roles: start, floor, obstacle and goal. This is a way to isolate an idea in a small scene, not a universal rule for all games. The comparison diagram shows different ways to organise those roles.
What changes when the goal is visible #
Place the destination where it is visible from the start. Give it a distinct colour and some clear space. Keep the obstacle in the middle without completely hiding the goal. The task becomes reaching a visible point by choosing a way around it.
The change has a testable purpose. Instead of declaring the scene prettier or promising more visits, ask whether someone at the spawn can see the destination without an explanation. Use the character’s camera. A convenient overhead editor view does not prove that players see the same thing.
An obstacle should create a playable choice #
Add one barrier with passages on both sides. Decide what you want to test: a simple detour, a jump or a shorter route. In a practice map, checking the passage comes before adding a timer, rewards and leaderboards.
Look at specific locations during testing: narrow gaps, edges that interrupt movement and camera turns that hide the goal. If someone gets stuck, record their location and action. Calling them inattentive skips an important possibility: the geometry or route presentation may be causing the difficulty.
Observe actions without inventing thoughts #
Let someone try without a spoken route explanation. Write neutral observations: turned the camera left, approached the grey platform, returned to the start. These can be compared with the layout. Saying the player was bored is an interpretation that needs additional evidence.
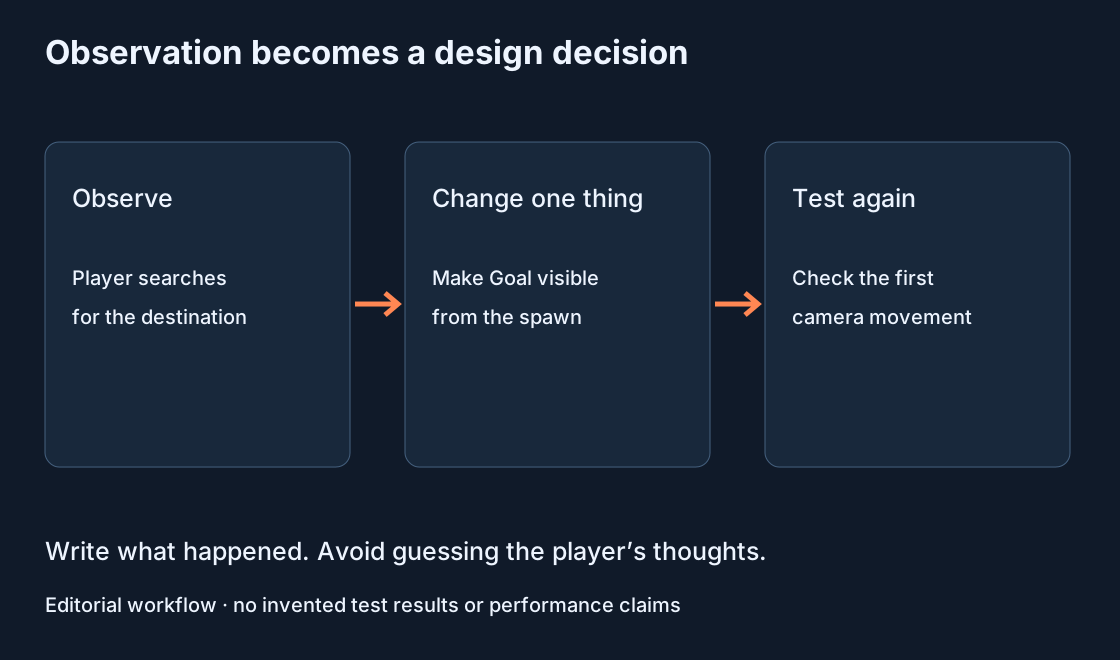
Ask afterwards what they thought the goal was and where they hesitated. Their answer can guide another check, but one test does not represent everyone or establish a game’s popularity. The diagram below connects an observation to a specific change.
One change, then the same route again #
Suppose the observation suggests that the destination is hidden. Move Goal or remove the object hiding it. Keep character speed, floor colour and the rest of the route unchanged during this comparison. Repeat the same start to examine the chosen change.
Restore the saved previous version if the result is worse. Name versions by their purpose, such as goal-visible-from-start or wider-right-passage. This leaves an understandable record of decisions rather than a collection of files called final and final2.
When to add the next mechanic #
The basic route is ready to expand when spawning works, the path is usable, the goal is understandable and the saved version reopens correctly. Choose one mechanic, such as a checkpoint after the obstacle. Describe the expected falling behaviour before implementing it.
Adding a shop, pets, daily tasks and several currencies together makes failures harder to isolate. A small step is easier to check. Stone Trail: Temple Escape Run lists stages and checkpoints in its public description; it illustrates a possible direction, not a playtest result from this article.
Apply the story to your own scene #
Open your practice scene and answer four questions: where does the character appear, what do they see first, which action is suggested, and how do they recognise the goal? If only the author understands the answers, investigate which spatial signals could help.
Walk the route with the character camera, save the original and change one thing. Record the observable result. This does not guarantee popularity; it provides a repeatable way to improve a scene through decisions you can explain and test.
Original sources
Roblox Creator HubRoblox Creator Hub: Parts