Studio / ROBLOX
Roblox saves in Studio: a separate experience and environment checks
Prepare a small DataStore test without targeting production saves. Distinguish a new experience from another place, review Studio access, and record reading, writing, and a later test run.
Separate the test from the live game #
Choose one simple persistence question: “Can I write a practice value and read it during the next test run?” Do not begin with real player inventory or currency. A small independent prototype lets you understand the environment and operation outcomes without combining them with purchases, rewards, or data migration.
This guide proposes practice progress without a real user. No test experience was created, no API access was enabled, and no DataStore reads or writes were performed for the article. The steps are a plan for your separate prototype. They do not establish that persistence already works in any of our published experiences.
Understand the storage boundary #
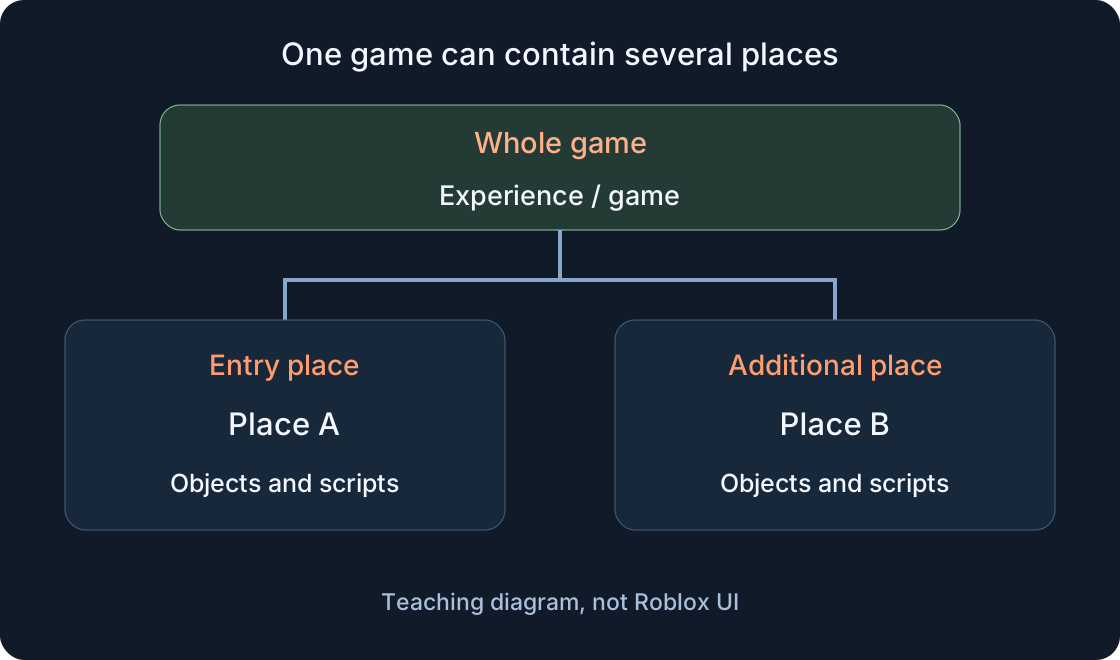
Places within one experience can access its data stores. Adding another place to a live game therefore does not create a separate persistence environment by itself. A name containing “Test” does not change that boundary either. Identify the experience containing the open project before choosing practice store and key names.
This exercise needs a separate test experience. Another store or key helps organize it, but does not replace environment verification: a script might still use an old name or another configuration branch. Our diagram distinguishes two independent experiences from several places in one experience; it does not display real account identifiers.
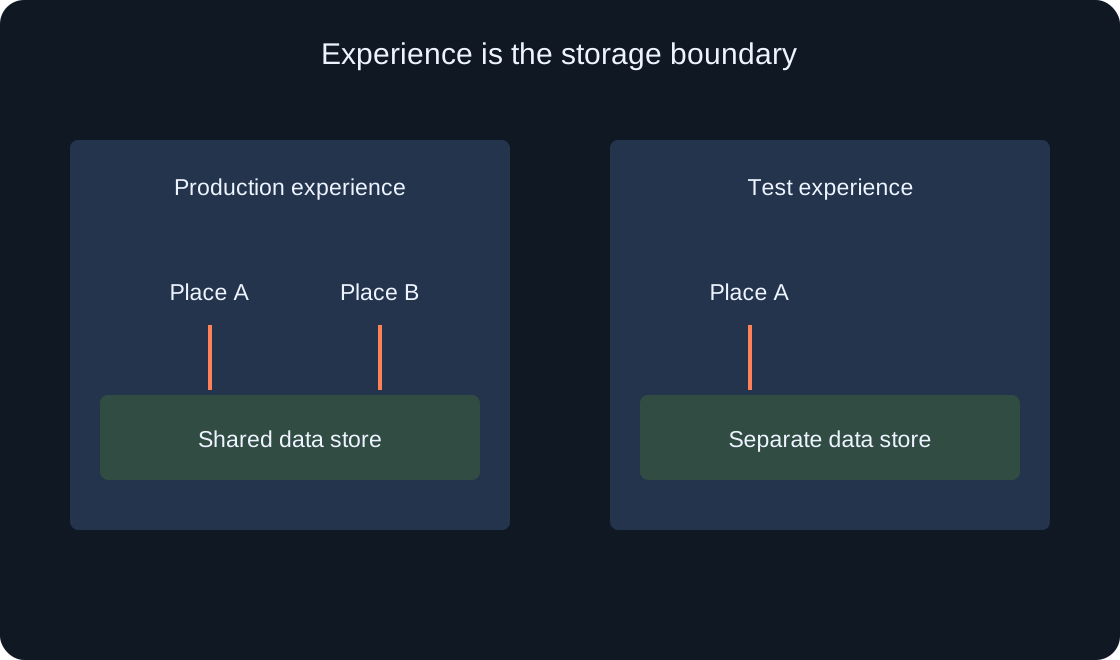 Open full-size image ↗
Create a small independent project #
Open a new Baseplate template in Studio for a minimal prototype. For an initial publication, Roblox documentation describes File → Publish to Roblox, the Publish Experience fields, and Create. Choose a standalone test game; avoid overwriting a production place or adding the exercise as a new place inside the existing live experience.
After creation, inspect the actual experience, owner, and access in Creator Dashboard. Publishing to the cloud and releasing to everyone are different actions. This exercise does not need a public release. If the selected destination is another game or the interface offers to overwrite its place, return to project selection rather than continuing by habit.
Save an environment record #
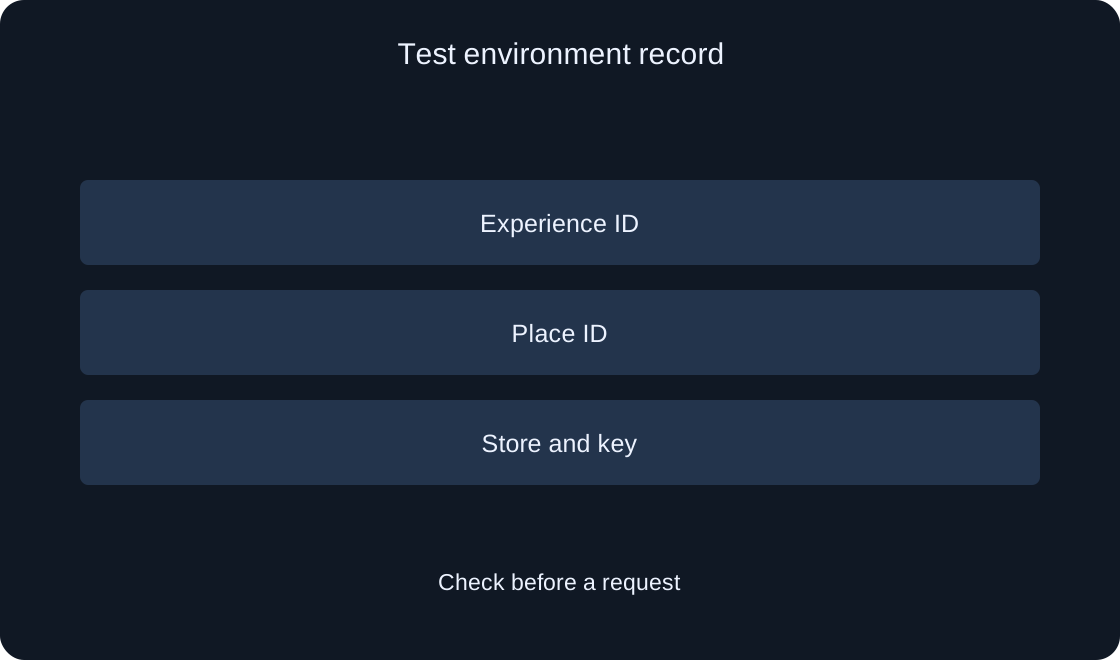
Record the test experience's name and ID, its place name or ID, owner, purpose, and verification date. Compare those fields before each run. Distinguish the experience identifier from the identifier of an individual place; one project name alone cannot show that two runs use the same environment.
Add a practice store name, such as PracticeProgress_v1, and a fictional key, example_student_01. These are names chosen for this exercise, rather than existing Roblox records or real player data. Keeping real saves out of the exercise is simpler than later investigating which outcomes came from old data.
 Open full-size image ↗
Review Studio access only for the test version #
Studio access to data stores is disabled by default. Roblox warns that enabling it makes Studio access the same stores as the published game. Recheck the separate test experience's record before changing the setting. Making a game private does not by itself separate its Studio session from its stores.
For the published test version, the documented route is File → Experience Settings → Security → Enable Studio Access to API Services, then Save. This enables API service access; it does not create another data copy. Do not enable it on the live game for this exercise. If the test destination is not established, resolve project selection first.
Check server execution and configuration #
DataStoreService is used by a server-side script; attempting access from a LocalScript causes an error. Record the script path and execution side before investigating reads. A client interface can show a loading state, but that label does not prove the server contacted the intended store and key.
Compare reading and writing configuration: experience, store, key, and expected format must belong to the same exercise. When code contains several store names, locate the one actually used rather than a similar string. Avoid changing server behaviour, interface, and names at once, because that hides the cause of the outcome.
Distinguish a missing record from a failed read #
DataStore requests can fail, and Roblox uses pcall for handling operation errors. A successful read with no saved value and a request that failed are different outcomes. Decide how the log and interface will represent both before testing. “No record” is not an appropriate result for an operation that did not complete.
Consider a fictional failure: loading fails, the interface displays zero, and the next step writes zero as new progress. That does not verify the original data and may conceal the failure. Separate “loading,” “practice record absent,” and “read failed.” Avoid writing a default value simply to make an error message disappear.
| Read outcome | Next step |
|---|---|
| Value returned | Compare value and format |
| Request succeeded, no record | Check the practice key and write plan |
| Request failed | Record the error; do not treat it as missing data |
Make one controlled practice write #
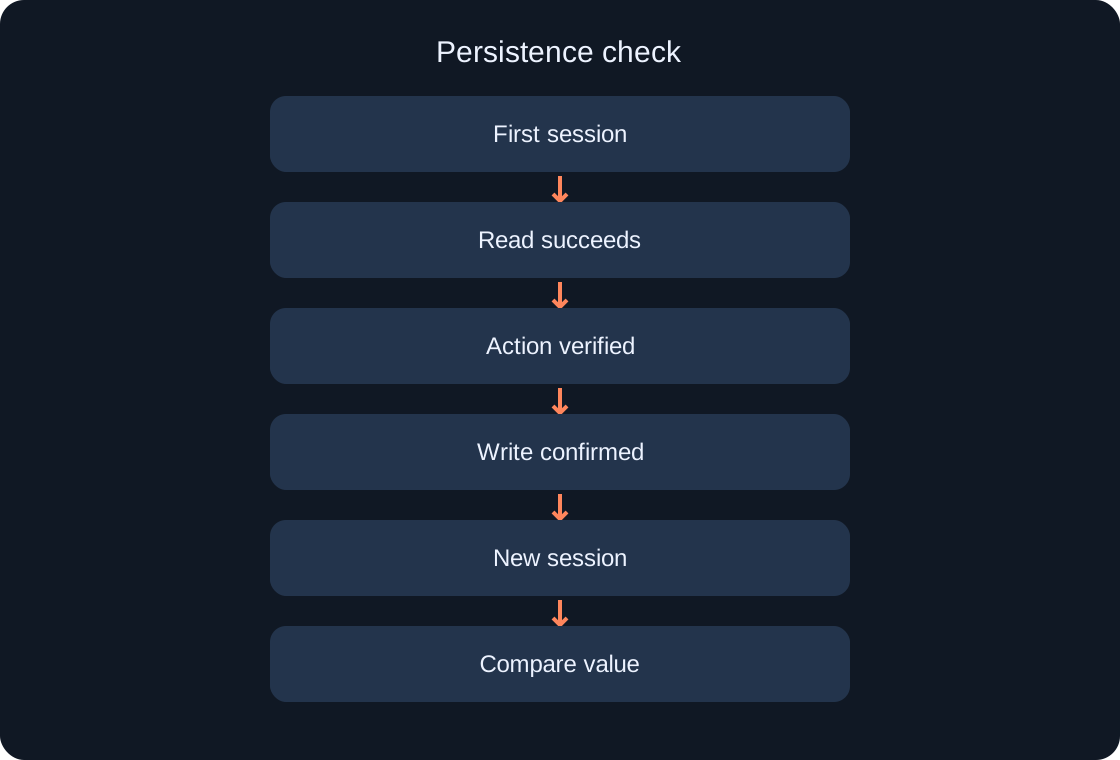
After checking the environment, server side, and a successful initial read, plan one separate write of a small practice value. Record the store, key, format, and operation outcome. Choose a value meaningful to the prototype, without representing real money or requiring deletion of somebody else's keys.
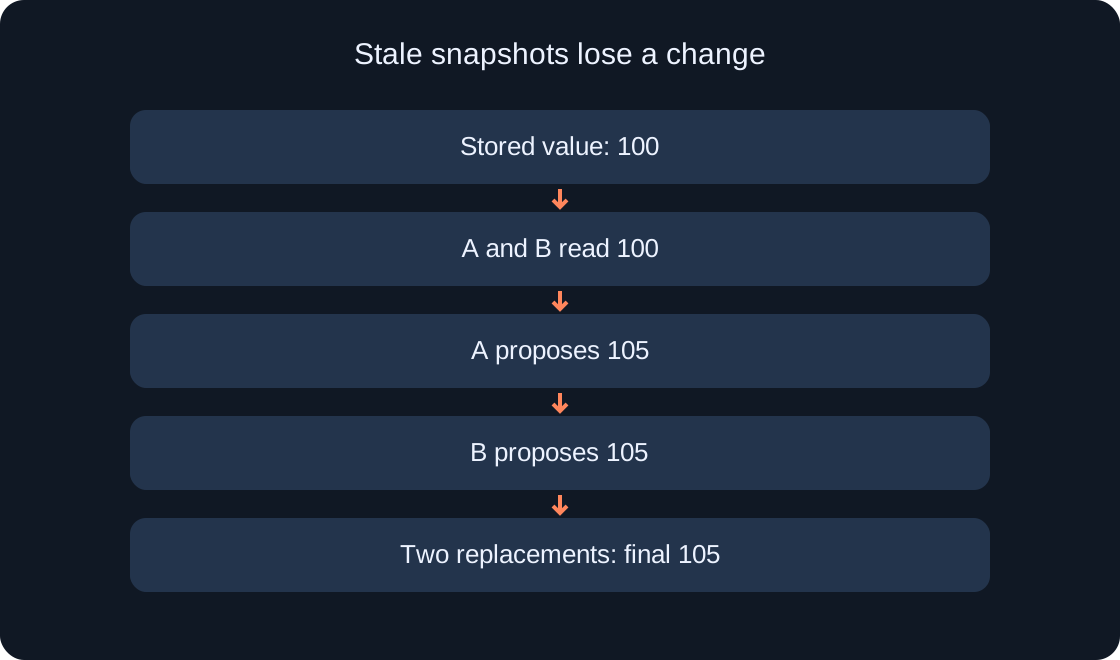
Next, make a separate read and compare its outcome with the expected practice value. The writing method depends on your logic; concurrent-server conflicts need a separate UpdateAsync discussion. This guide does not supply a shop handler or promise a successful request. A button press or changed label cannot establish that the write succeeded.
Repeat with a new test run #
End the first simulation and begin the next test in the same verified test experience. Recheck the environment record, store, key, and format, then record the new read outcome. Editing an ordinary object during a Studio test and saving through DataStore are different mechanisms; a colour or temporary variable cannot prove persistence.
If the value differs, compare conditions and request outcomes first. Reads also have caching behaviour described in the reference; an immediate repetition does not replace an intentional test plan. Avoid rewriting live saves to make results match. Record the observation and which explanation still needs its own test.
Preserve the conclusion and its limits #
The log needs the environment record, server script path, store, key, format, operations, and outcomes. Specify which steps were established: selecting the test experience, reading successfully, writing, or reading in a new run. Do not combine these into “everything works” when a step has not actually been completed.
After testing, record the access setting's state and the test version's future purpose. Load, multiple servers, schema migration, and recovery of production data are not verified in this article; they need separate scenarios. The diagrams and tables are original teaching materials, and no action on actual saved player data is claimed.
| Check | Record |
|---|---|
| Environment | Separate experience and its ID |
| Context | Server script path |
| Data | Practice store, key and format |
| Outcome | Outcome of each operation |
Original sources
Roblox Creator Hub — Data storesRoblox Creator Hub — Publish experiences and places