Studio / ROBLOX
Roblox Studio Collision Groups: Set Up and Check Two Groups
Create two groups for a small practice scene, configure their matrix relationship, and check the result with physical parts. The guide distinguishes Studio setup from a server script and uses current Workspace methods.
What collision groups control #
Imagine a practice corridor where two teams push colored crates. Crates from different teams should pass through one another, while crates from the same team should collide, while both teams should stop at the floor and walls. This is a fictional teaching example, not a description of a published game.
Collision Groups define collision rules for classes of physical parts. Instead of configuring every object pair, assign each BasePart to a group and specify which groups collide in a matrix. A group name alone changes nothing: behavior depends on both the part assignment and the matrix relationship.
Prepare a small practice scene #
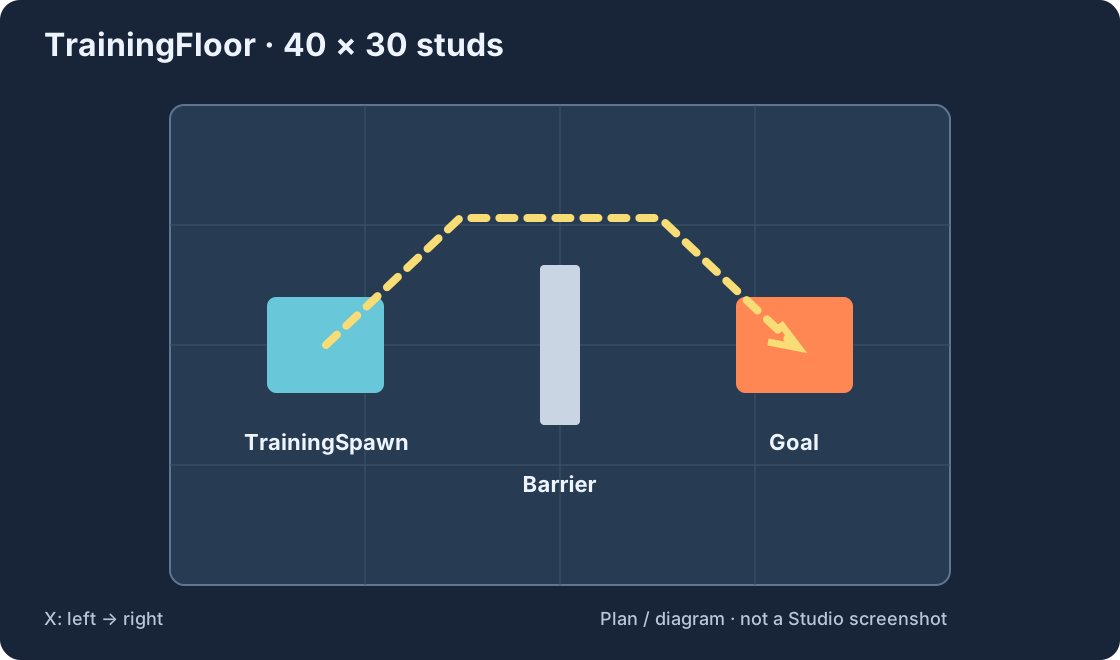
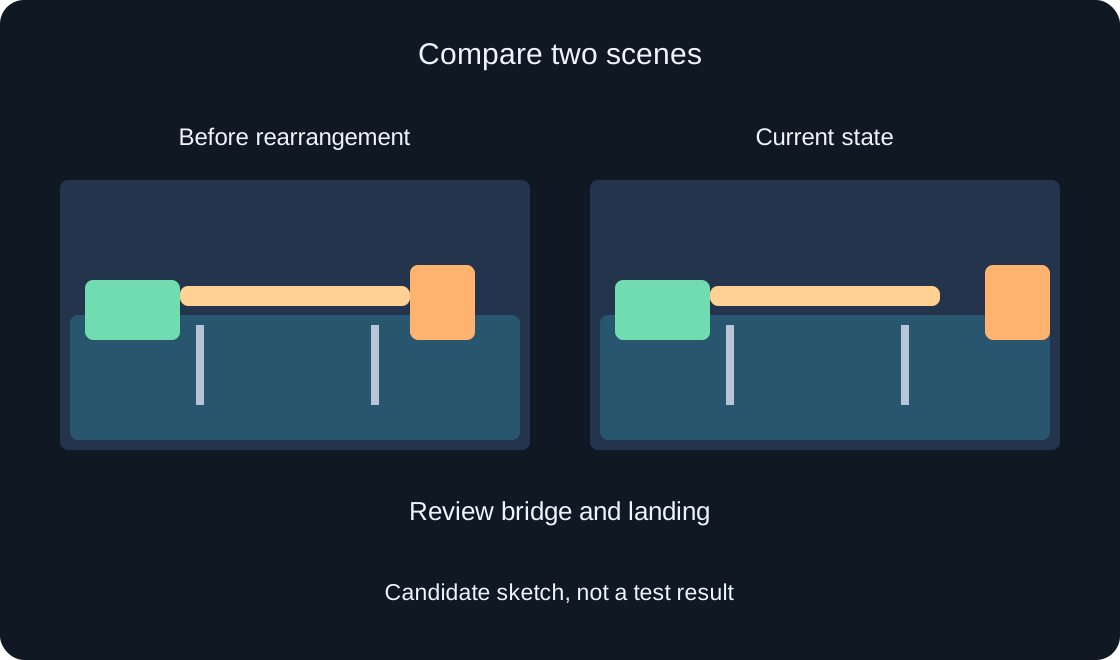
Start with a new Baseplate or a copy of a project, and save it under a separate name. Add a wide Anchored floor, a wall, and two small crate parts: blue and orange. Make the crates unanchored, leave room between them, and position them above the floor. Focus on physics before decoration.
Set CanCollide = true on each part. If it is off, the part will not provide normal physical resistance even when its group pair is enabled. Make sure the crates are BasePart instances, such as Part or MeshPart, rather than folders or models. Groups are assigned to parts; for a multi-part model, inspect every relevant part.
| Group pair | Setting | Expected in this scene |
|---|---|---|
| BlueCrates ↔ BlueCrates | Enabled | Blue crates stop against one another |
| OrangeCrates ↔ OrangeCrates | Enabled | Orange crates stop against one another |
| BlueCrates ↔ OrangeCrates | Disabled | Different colors pass through |
| BlueCrates ↔ Default | Enabled | Blue crates meet floor and wall |
| OrangeCrates ↔ Default | Enabled | Orange crates meet floor and wall |
Plan the matrix before assigning parts #
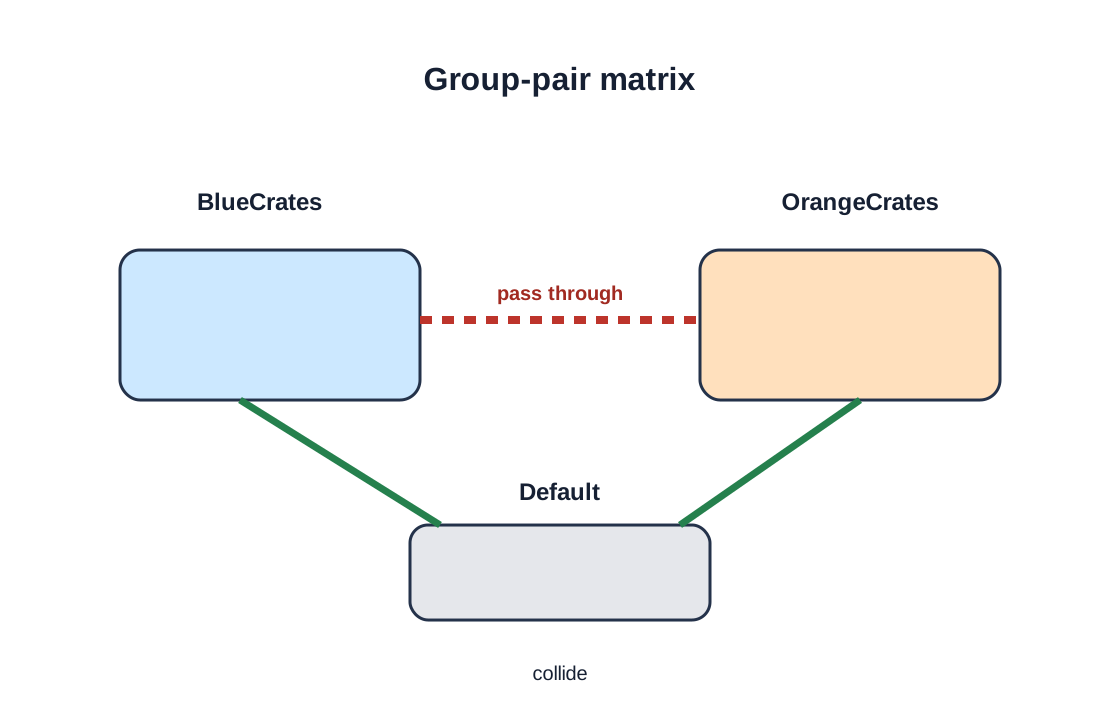
Use the groups BlueCrates and OrangeCrates. Keep each group collidable with Default, and turn off the relationship between the two practice groups. Adding two crates to each group makes the checks easier to observe.
The matrix describes pairs, not one-way settings. The relationship between A and B applies to both groups: if BlueCrates does not collide with OrangeCrates, orange crates also pass through blue ones. A group’s relationship with itself controls parts within that group. Leave it enabled if crates on the same team should push one another.
Create groups in the Studio editor #
Open the Collision Groups editor. Roblox’s current documentation places it under Window > 3D; panel names and locations may vary between Studio versions. Select Workspace if the editor offers a world selector. Add BlueCrates and OrangeCrates with Add Group, using unique names.
The editor includes Default by default. All parts start in this group, and it cannot be renamed or deleted. Confirm that both new groups appear in the matrix, then disable only the BlueCrates/OrangeCrates intersection. If the editor displays a separate cell for each side, confirm the pair’s state. Save the project.
Assign the intended BaseParts #
Select both blue crates in the 3D view and use the plus (⊕) control on the BlueCrates row to assign them. Repeat for the orange crates. The panel’s exact appearance depends on the Studio build. Select each crate and inspect CollisionGroup in Properties to confirm its name.
Assigning a part to another group removes it from its previous group; a part belongs to one collision group at a time. Expand each model and inspect all physical parts, or a component may remain in Default. Do not confuse CollisionGroup with CanCollide: the first chooses group rules, while the second enables or disables physical collision for the part.
Set the matrix and understand its symmetry #
The intended matrix is: BlueCrates ↔ BlueCrates enabled; OrangeCrates ↔ OrangeCrates enabled; BlueCrates ↔ OrangeCrates disabled; and each practice group ↔ Default enabled. Enabled means the pair may physically collide if other relevant settings allow it. Disabled means parts pass through each other even when both have CanCollide enabled.
For one specific pair of parts, Roblox suggests considering NoCollisionConstraint. Collision Groups are more suitable when a rule applies to many objects. Avoid creating numerous groups for objects that need only one individual exception.
 Open full-size image ↗
The same example in a server script #
For a scripting counterpart, place a regular Script in ServerScriptService and create two Workspace parts named BlueCrate and OrangeCrate. This example registers missing groups, configures their relationship, and assigns the parts:
The current API documents RegisterCollisionGroup, IsCollisionGroupRegistered, and CollisionGroupSetCollidable on Workspace/WorldRoot. Group creation and relationship changes must run on the server. For a project, configuring groups in Studio ahead of time is often convenient; Roblox notes that registration has a small overhead based on the number of parts in Workspace. Avoid the deprecated PhysicsService:CreateCollisionGroup() and SetPartCollisionGroup() in new examples: the current PhysicsService reference marks that API deprecated and points collision management to Workspace.
This short example assigns only two individual parts. It does not process every part in a model or a character; an expanded implementation must explicitly visit descendants and assign each BasePart. Instance names must match Explorer.
local workspace = game:GetService("Workspace")
local blueName = "BlueCrates"
local orangeName = "OrangeCrates"

for _, name in {blueName, orangeName} do
    if not workspace:IsCollisionGroupRegistered(name) then
        workspace:RegisterCollisionGroup(name)
    end
end

workspace:CollisionGroupSetCollidable(blueName, blueName, true)
workspace:CollisionGroupSetCollidable(orangeName, orangeName, true)
workspace:CollisionGroupSetCollidable(blueName, "Default", true)
workspace:CollisionGroupSetCollidable(orangeName, "Default", true)
workspace:CollisionGroupSetCollidable(blueName, orangeName, false)
workspace.BlueCrate.CollisionGroup = blueName
workspace.OrangeCrate.CollisionGroup = orangeName
Check behavior in a separate run #
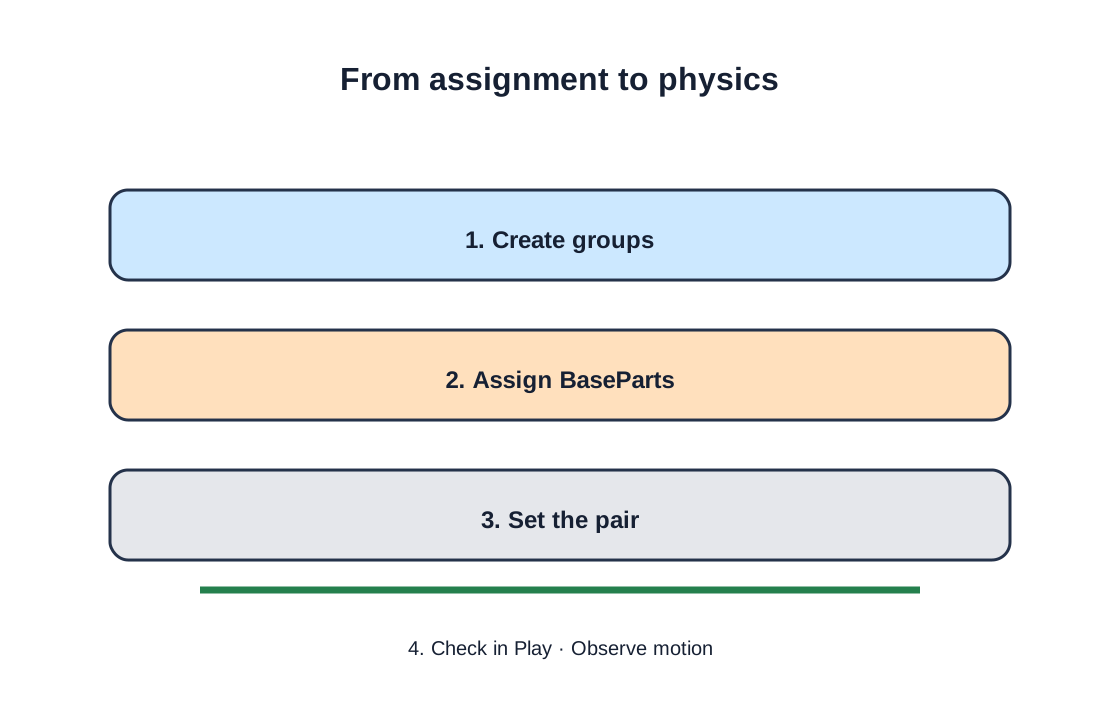
Save the scene, then use a Studio run mode that starts simulation, such as Play. This is a test plan, not a test performed here: Studio was not launched and no physics result was observed.
Position blue and orange crates so they meet; with the pair disabled, they should pass through each other. Blue-on-blue should collide, as should orange-on-orange. Each crate should stop at the floor and wall in Default. Stop the simulation, enable only the Blue/Orange relationship, run again, and compare that pair. Before each comparison, check starting positions and CanCollide.
Record the actual result after your own run. One local simulation does not prove behavior in every network scenario or on every device.
Test one pair per run. Place the lower crate on the floor and the upper crate directly above it with an air gap; leave both unanchored. When simulation starts, the upper crate falls onto the lower one. Expect contact for the same group and passage through the other color when that pair is disabled. Then enable the different-color pair and repeat the identical arrangement. For the wall, put a crate nearby and push it with the character; check the floor separately. Record your actual observation after running, rather than copying the expected result.
 Open full-size image ↗
| Observation | Check first | Next action |
|---|---|---|
| Different groups still collide | Both assignments and matrix cell | Confirm the active Workspace |
| Crate falls through floor | CanCollide and relation to Default | Inspect floor physics properties |
| Part of model behaves differently | CollisionGroup on every BasePart | Assign remaining parts and repeat |
| Script cannot find group | Name and registration result | Check spelling and server context |
| Touched fired through a part | Separate touch-event behavior | Check physical motion for a solid stop |
Diagnose unexpected results #
If the two colors still collide, check in order that both parts are assigned to different groups, their matrix relationship is disabled, and you are inspecting the same Workspace that you edited. Then check CanCollide and confirm that no model parts remain in Default.
If a crate falls through the floor, check its group’s relationship with Default and CanCollide on both parts. If a script reports an unknown group, registration may not have run or the name may differ. CollisionGroupSetCollidable errors when a group is unregistered, which is why the example checks and registers them first.
Touched events are a separate concern: Roblox documents that they can fire regardless of CanCollide. Do not treat a touch event alone as proof of a physical stop.
Record the observation and continue #
Save the chosen matrix, the list of assigned parts, and a short note with the tested pairs, expected behavior, and observed result. If you change the matrix, repeat checks for affected pairs, including collisions with Default.
Next, you could assign a group to every part of a model as it is added, test characters, or compare a group rule with NoCollisionConstraint. Each extension needs its own check. The practice goal is met when you can predict an outcome from the matrix and then confirm it in a Studio run.
Original sources
Roblox Creator Hub — CollisionsRoblox Creator Hub — WorldRoot
Roblox Creator Hub — PhysicsService (legacy API status)
Roblox Creator Hub — Physics