Studio / ROBLOX
Your first Roblox Studio project: build and test a small level
A step-by-step exercise with four objects, exact sizes and positions, a spawn, barrier, goal and troubleshooting. Three diagrams explain the workflow.
What we will build and how to judge the result #
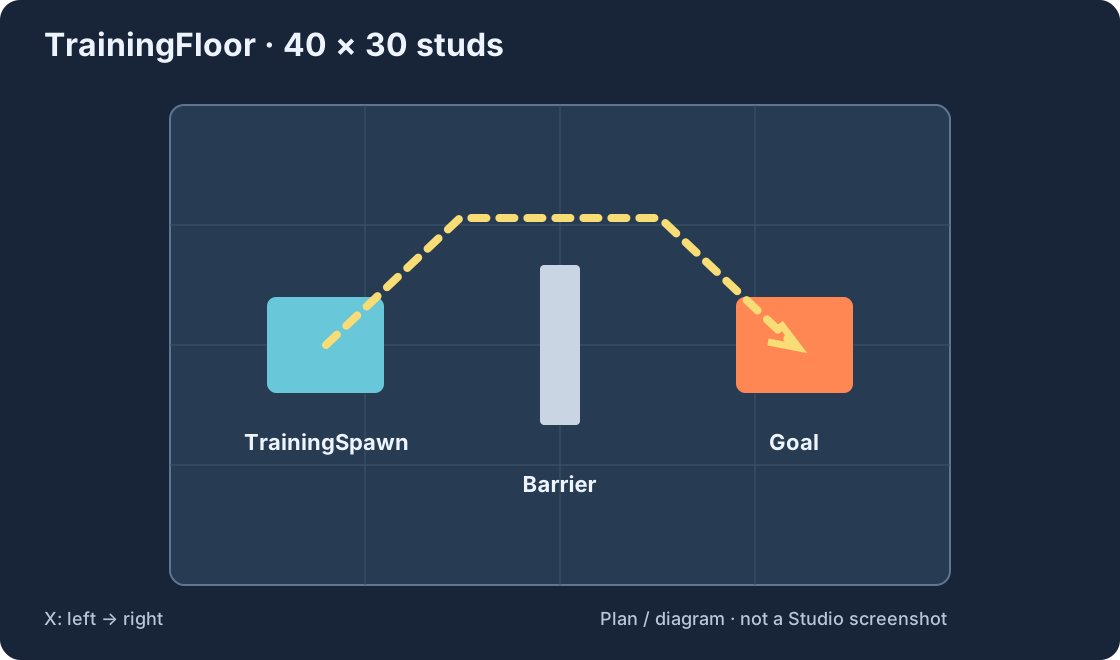
Build a small training scene: your character starts on the left, goes around one obstacle and reaches a bright platform on the right. This lesson teaches placement, properties and playtesting with four objects: floor, spawn, barrier and goal. A small scene makes the effect of each change easier to understand.
The exercise is complete when the character spawns on the floor, the route is passable, the parts stay in place and you can reopen a saved copy. The goal is a visual marker whose arrival you check during testing. Automatic rewards can be a separate exercise. These dimensions are our practice example, not a Roblox standard.
1. Install Studio and open a practice project #
Download Studio from the official website and sign in with your Roblox account. Studio creates projects; Player runs games. Check the current system requirements in the sources below before installing.
Open a new project with a simple ground plane, such as Baseplate, and name it TrainingRoom. Use a separate practice project if you already have a game. You need a clear workspace where the four objects are easy to identify. Starting with a large premade building makes the early checks harder.
2. Understand Explorer and Properties #
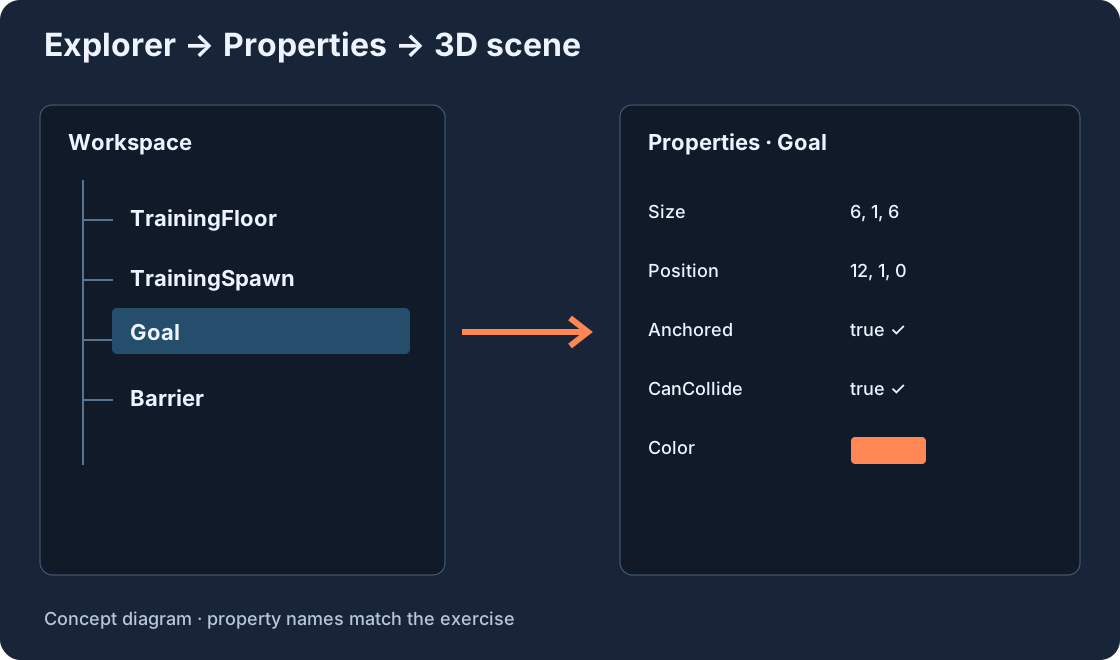
The viewport shows your 3D scene. Explorer lists objects and their hierarchy. Properties controls the selected object. Select a part in Explorer and confirm that you are editing its own properties. If a panel is hidden, find it through Window or the relevant tools in your current Studio version.
Rename objects as you create them: TrainingFloor is easier to identify than several objects called Part. If something disappears, select it in Explorer first; the camera may simply be looking elsewhere. The diagram below explains the Goal selection workflow and is not a screenshot.
3. Prepare the TrainingFloor #
Select the existing baseplate or create a rectangular Part for the floor. Name it TrainingFloor. Set Size to X = 40, Y = 1, Z = 30 and Position to X = 0, Y = 0, Z = 0. Expand vector fields and enter each axis separately if necessary. X and Z define the area; Y defines thickness.
Enable Anchored and keep CanCollide enabled. The floor must stay in place and support the character. Its top surface is at Y = 0.5: a thickness of one extends half a unit above its centre. This explains the higher positions of the other objects.
4. Place the TrainingSpawn #
Find the project’s SpawnLocation, or add one to Workspace if there is none. Rename it TrainingSpawn. Use Size 6 × 1 × 6 and Position X = −12, Y = 1, Z = 0. This places it on the left side of the floor. Anchor it.
One spawn is enough for this exercise. During the test, confirm that the character appears on the intended platform. If the start is elsewhere, look for an additional SpawnLocation left in the scene. Give the start a distinctive colour, such as blue.
5. Add the Goal and Barrier #
Create a Part called Goal. Set Size to 6 × 1 × 6 and Position to X = 12, Y = 1, Z = 0. Choose a bright colour, such as orange, that separates the destination from the floor and spawn. The platform is a visual finish for this exercise.
Create another Part called Barrier, sized 2 × 4 × 10 at X = 0, Y = 2.5, Z = 0. It sits between the start and goal with space on both sides. Anchor both parts. The suggested route goes around it; if players can jump over it, decide whether that is a route you want to encourage.
Ready-to-use sizes and positions #
Compare the four objects with the table. Size describes dimensions along three axes; Position describes the centre. Roblox calls a length unit a stud. These values belong to this example, so keeping the objects consistent matters more than building a large scene.
If you change the wrong coordinate, restore it from the table and test again. When a passage is awkward, identify the object responsible before scaling the whole level. The table and diagrams use the same object names.
| Object | Size: X, Y, Z | Position: X, Y, Z | Anchored / CanCollide |
|---|---|---|---|
| TrainingFloor | 40, 1, 30 | 0, 0, 0 | true / true |
| TrainingSpawn | 6, 1, 6 | −12, 1, 0 | true / true |
| Goal | 6, 1, 6 | 12, 1, 0 | true / true |
| Barrier | 2, 4, 10 | 0, 2.5, 0 | true / true |
6. Check Anchored and CanCollide #
Anchored fixes a part in place; CanCollide controls collision participation. Use anchored, collidable parts for this floor, spawn, goal and barrier. An unanchored physical part can move during testing. If your character passes through the barrier, check its CanCollide property.
Confirm which object is selected before editing. Similar parts are easy to confuse. Select Barrier in Explorer, check both properties, then do the same for TrainingFloor. A deliberate object-by-object review is more useful than random changes across the scene.
7. Make the route readable #
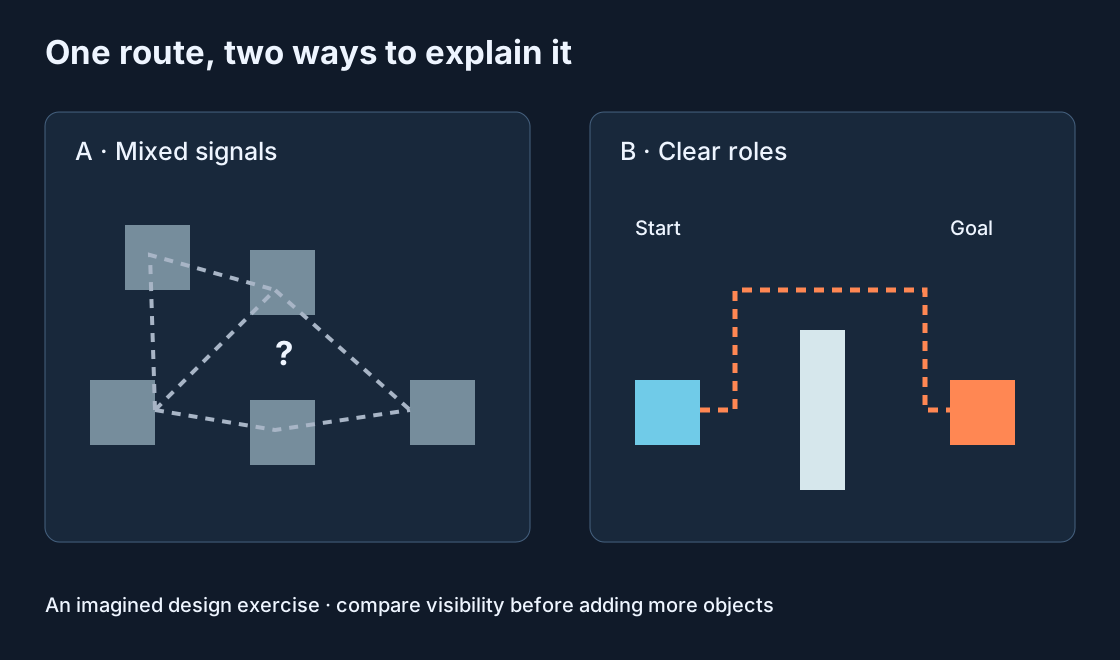
Use a neutral floor, a blue start, an orange goal and a light barrier. The useful principle is distinguishing their roles, not copying a particular palette. View the route at character height. Can you see the finish? Does it stand out from decoration? Is the first movement clear?
Test before adding decorative models. Extra objects can block a passage or disguise the goal. Once the route is readable, add decoration one object at a time and walk through again. Visual design works better when players can interpret it while moving.
8. Playtest as a player #
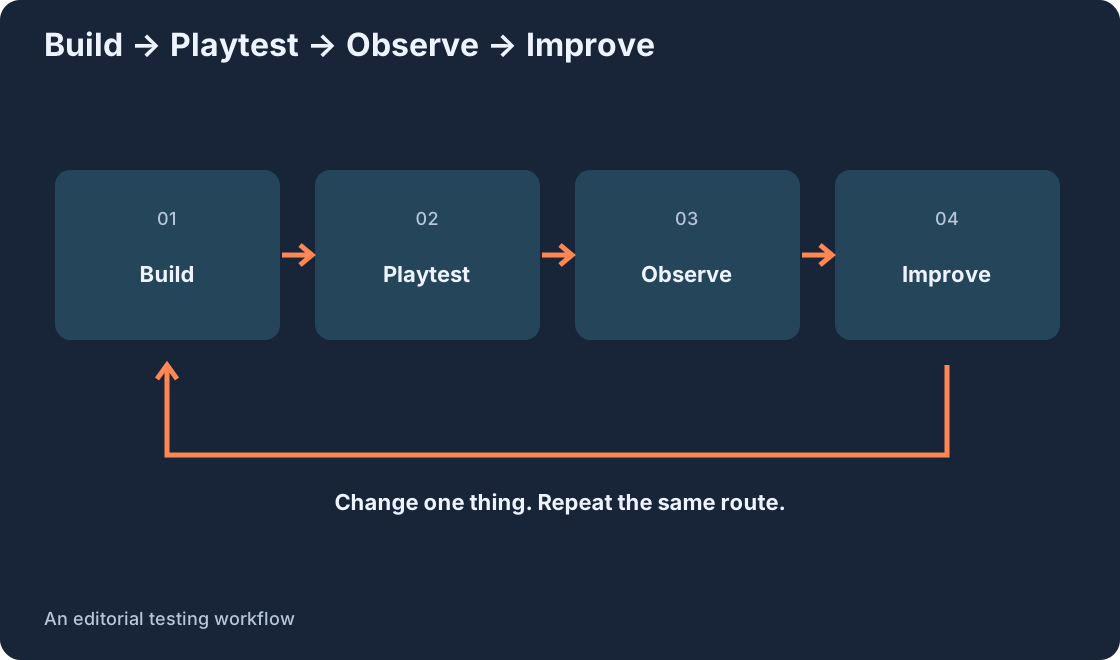
Start a playtest with a character and walk from TrainingSpawn to Goal. Do not judge the passage only from the editor camera: a wide-looking gap from above may feel narrow beside a character. Check both sides of the barrier, floor edges and the approach to the finish.
Stop and record one precise problem, such as “the goal is hidden from the spawn” or “the right passage feels too tight.” Fix that problem and repeat the same route. The diagram below shows a testing loop that helps isolate the effect of a change.
Common mistakes and a repair order #
For parts that fall or shift, check Anchored first. For a character falling through the floor, check CanCollide and floor position. For an unexpected spawn, count the SpawnLocation objects. For a missing-looking part, find it in Explorer and return the camera to it.
If the route is blocked, temporarily remove one suspected obstacle from the path or reduce its size, then test. If the problem disappears, you have found an area to improve. Restore an intentional layout afterwards. When an error message appears, open Output and record its exact text before investigating.
9. Save a version you can return to #
Save the project and check where the copy is stored. For a local version, use the appropriate File save command and verify the folder and filename. Before a major layout change, keep another copy with a descriptive name such as TrainingRoom-before-layout-change.
Saving a practice scene and making a game available to other players are separate stages. For this lesson, reopen the saved prototype and confirm that its objects are present. Check publication and player access separately in the project’s current settings.
10. Test as a first-time player #
Reopen the saved scene and walk through from the start. Check that the spawn works, the finish is visible, both passages are usable and the parts stay in place. If possible, ask another person to try the route without explaining it. Watch their first camera movement and choice of path.
Observe actions as well as asking whether the level was enjoyable. If they search for the goal, improve visibility. If they repeatedly choose an awkward route, inspect that passage. Save a working version after each improvement.
Where to take the prototype next #
Choose one next feature: a second obstacle, another route section, a message at Goal or a checkpoint. Describe the expected behaviour in one sentence before building. For example: “after falling, the character returns to the last reached platform.” Then build what is necessary to test that idea.
The site owner’s Stone Trail: Temple Escape Run lists stages and checkpoints in its description. You can explore its catalogue page as one possible direction for a short route. Your prototype can have its own style. The central result of this lesson is knowing how to build, check and save a readable scene.
Original sources
Roblox Creator Hub · Studio setupRoblox Creator Hub · Studio interface
Roblox Creator Hub · Parts
Roblox Creator Hub · Testing modes