Studio / ROBLOX
How to test your first Roblox Studio level: a practical plan
Check spawning, movement, collisions, interface and a second player. Includes a reusable issue-report format, a checklist and two diagrams.
Define the behaviour before testing #
This plan covers a small practice level where a character spawns, follows a route and reaches a goal. It does not attempt to check every Roblox feature. First describe the main action and the signs of success. For a route, that might mean reaching the finish without getting stuck or falling unexpectedly.
Save the starting version and write down the expected spawn, allowed path and recognisable finish. If checkpoints exist, describe the return after falling separately. This lets you check intended behaviour instead of merely seeing whether a scene starts.
1. Choose the appropriate mode #
Use a character-based test for spawning and movement. Current Studio documentation describes Test as starting a simulation with an avatar. Test Here starts near the camera and helps inspect a particular section. Run starts without an avatar.
Begin with Test from the actual start. Use Test Here later for a section that takes time to reach. Record the mode used: repeatedly starting near the finish can hide a spawn problem. Match tool names and placement to your current Studio version.
2. Follow the route normally #
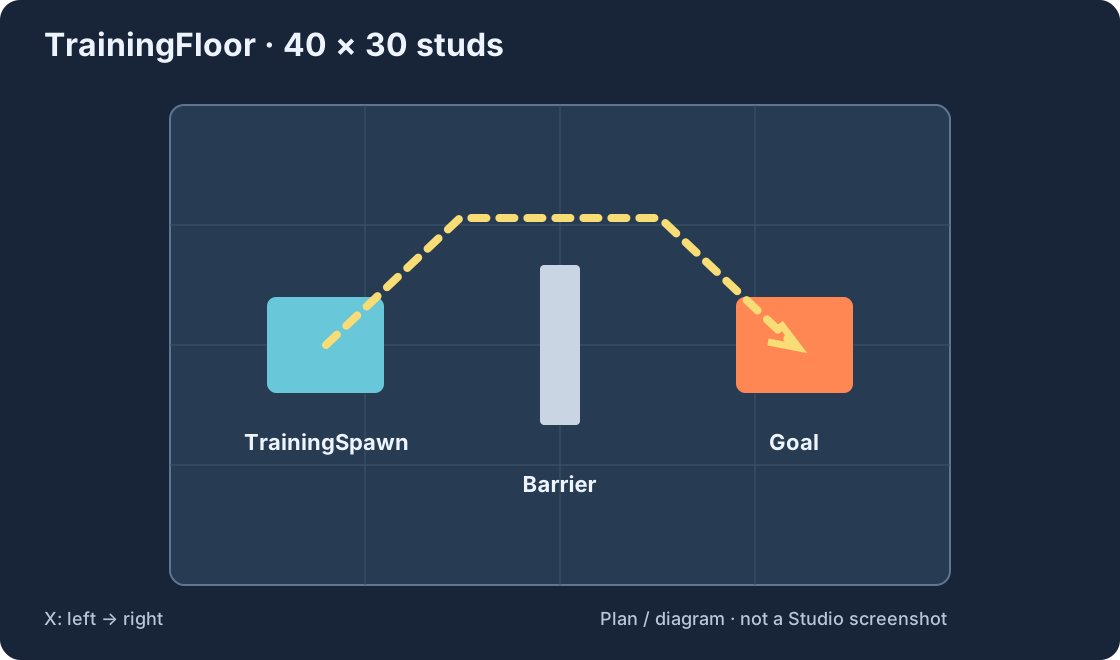
During the main check, move as a player rather than repositioning the character with editor tools. Turn the camera, go around the obstacle and approach the edges and goal. Check both sides of a barrier if both appear available. The first-project diagram uses TrainingSpawn, Barrier and Goal.
Describe the location precisely, such as between Barrier and the floor edge. For a falling part, check Anchored; for passing through it, check CanCollide. These are initial diagnostic checks, not a universal explanation for every failure.
3. Repeat and check recovery #
Stop and start again from the original position. Repetition helps establish whether a problem is reproducible. Then check the recovery your game actually implements, such as returning after falling. Do not assume checkpoints exist before you build them.
Write expected and actual results together. Returning to the start instead of the last reached platform is a specific discrepancy if personal checkpoints are intended. For a practice scene without progression, check initial spawning and the usable route after restarting.
4. Inspect Output #
Review errors, warnings and your diagnostic messages in Output. Keep the exact text, script name and line number where available. Ensure filters do not hide the relevant message type or server context.
A log message and a visible failure may be connected, but do not assume causation. Record the actions preceding both. Repeat those actions after the fix. Removing a red message alone does not prove that the route is now passable.
5. Check player interaction when relevant #
For mechanics involving shared objects, use Server & Clients and begin with two clients. Examine the first player’s action from the second player’s view. Check visible changes, messages and accidental changes to personal state. End the session when finished.
For example, one player’s personal checkpoint should not become another player’s checkpoint unless shared progress is intended. This is a proposed check, not a claim about your game. Two local clients can reveal bugs but do not establish performance under a large real workload.
6. Check a small screen #
If targeting mobile players, use Device Simulator to inspect screen layout and controls. Check whether text hides the goal, buttons remain visible and the main action can be performed. A comfortable desktop layout does not establish mobile usability.
Simulation helps find problems but does not replace a real-device check. Record that limitation when a phone is unavailable. Keep the device profile or dimensions so you can repeat the conditions. Looking at the ordinary editor viewport is not a mobile test.
7. Fill the checklist and prioritise #
Use working, failed or not checked for each row. For an absent mechanic, write not implemented rather than passing it. The template exposes gaps and supports another check after a change.
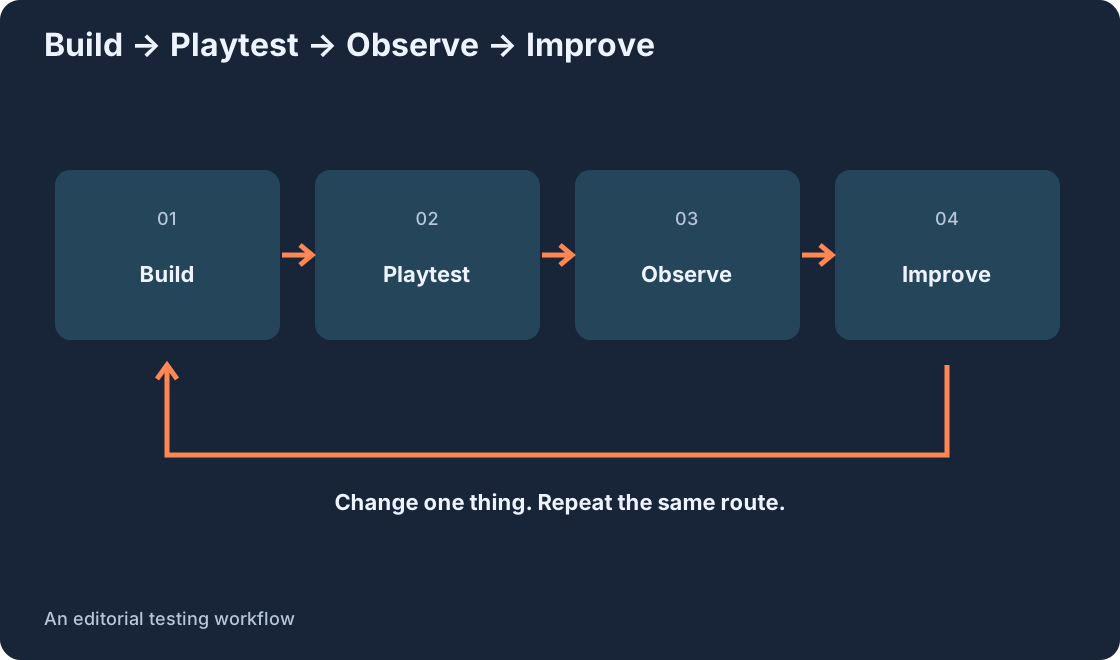
Fix failures that prevent starting or completing the main action first, then improve route clarity and UI. Save the working version before another edit. Each run should answer a specific question, such as whether the widened right passage is usable.
| Check | Expected result |
|---|---|
| Spawn | Character appears at the intended location |
| Main route | Normal controls allow reaching the goal |
| Edges and obstacles | No unintended trapping or falling through |
| Recovery | Matches the implemented rules |
| Restart | Main route remains usable |
| Output | Errors investigated and filters checked |
| Second player | Personal and shared changes match the design |
| Mobile screen | Main action and controls are accessible |
| Saved version | Expected objects are present when reopening |
Write a useful issue report #
Record project version, test mode, initial position, actions, expected result, actual result, Output text and reproducibility. Example: Test; start at TrainingSpawn; move right around Barrier; expected to reach Goal; stuck at the edge; reproduced twice.
The report helps you or a collaborator investigate without repeatedly asking for missing details. Repeat the original steps after fixing. A prototype route check does not establish readiness of every game system; publishing and player access require separate checks.
Original sources
Roblox Creator HubRoblox Creator Hub: Output
Roblox Creator Hub: Parts