Studio / ROBLOX
Roblox audio IDs and permissions: check the asset, the experience and the sound path
Tell an audio asset apart from a file or page address, check access for the correct experience, and investigate silence one stage at a time. A practical creator workflow without lists of borrowed IDs.
 Open full-size image ↗
1. Define the sound you expect to hear #
Start with one observable event: opening a door in a practice room should produce a short confirmation tone. Record where the player stands, which action triggers the tone, and who should hear it. Background music, a shared notification, and a sound attached to an object need different checks. Leave random playlists and complicated effects out of the initial case; you need a baseline that another person can describe.
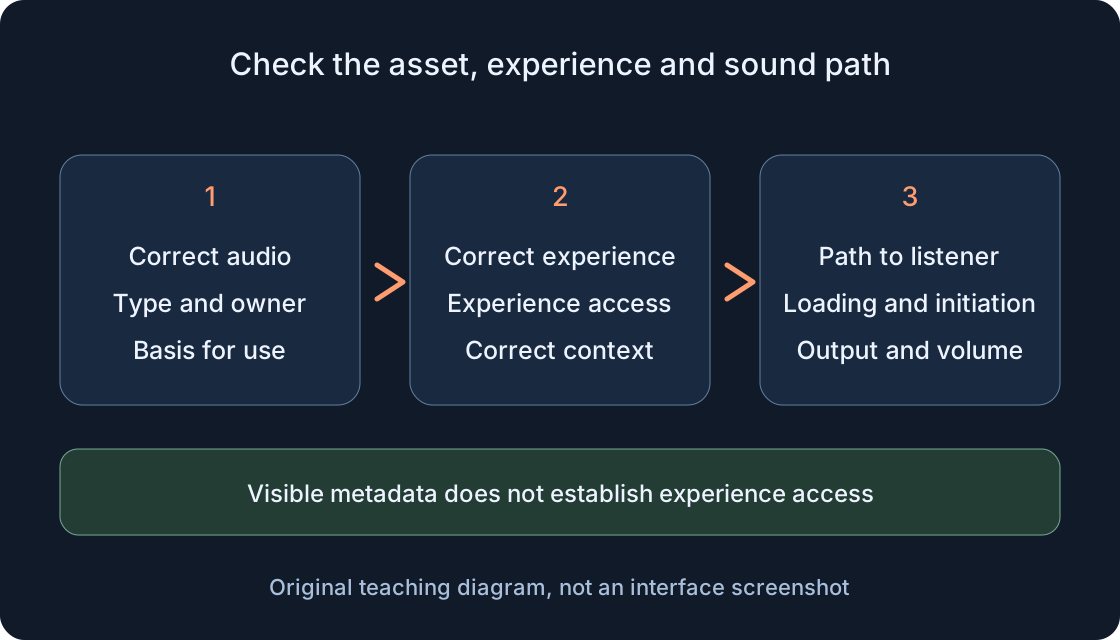
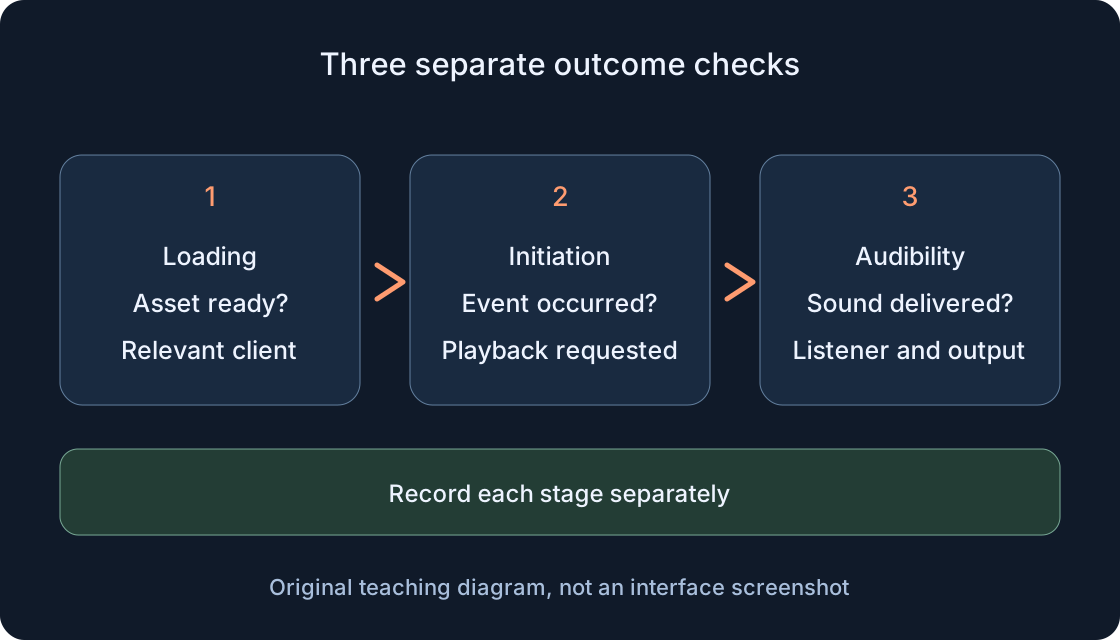
“Audio does not work” covers too many stages. “The door opens, but the nearby player hears no confirmation” is a useful observation. Door movement shows that part of the interaction happened, but does not prove that playback was requested. Separate asset identity, experience permission, playback initiation and delivery to the listener. A successful step does not establish success at the next step. The first diagram gives your investigation an order rather than a promise of a particular fix.
2. Separate an ID from a file and a page address #
A local file, an asset page and an asset ID are different things. The filename door.ogg identifies a file on your computer, not an uploaded Roblox audio asset. A number taken from a model, image or game address is not audio merely because it looks like an ID. Check the object type before transferring the number into your project; similar numeric formatting does not establish equivalent use.
The notation rbxassetid://AUDIO_ASSET_ID illustrates an asset reference. AUDIO_ASSET_ID is a nonworking teaching placeholder, not a playable sound to paste. Replace it only with the verified ID of audio you are allowed to use. Keep its page address and owner alongside it so the number can be checked later. When an old asset becomes unavailable, do not substitute a random comment’s ID: that changes both the recording and the basis on which you use it.
3. Locate and verify an audio asset #
In Toolbox, open Creator Store, select the Audio category, and search for suitable material. The official route for its identifier is to right-click the audio and choose Copy Asset ID. Check the card’s type, title, creator and intended purpose against your notes. Select the actual search result carefully; similar titles can belong to different resources with different owners.
A preview or description can establish what the recording contains, but cannot establish playback inside your specific experience. Make a small asset record: “short door confirmation”, page, verified identifier, source and check date. If the page identifies a different object type, stop before changing the project. Avoid maintaining a supposedly permanent list of working numbers: availability and status can change, and a reader’s ownership context may differ. The first table separates the references you might otherwise confuse.
| What you have | What it represents | What to verify |
|---|---|---|
| door.ogg on the computer | A local file | Whether a separate published audio asset exists |
| An audio page | Asset information | Type, owner, status and basis for use |
| A copied ID | An asset identifier | Whether it came from the selected Audio asset |
| rbxassetid://AUDIO_ASSET_ID | Nonworking format example | Do not paste the placeholder as a real ID |
| A place ID or universe ID | A place or experience identifier | Do not use it as an audio identifier |
4. Distinguish recording rights from platform access #
Two questions need separate answers: may you use the recording, and can your chosen experience load the Roblox asset? A number written in a notebook answers neither automatically. For original recordings, keep evidence of ownership; for supplied material, keep the source terms and intended use. Downloading, trimming or reuploading somebody else’s music does not establish ownership of the recording.
Roblox’s licensed-music conditions concern use on its platform. Do not treat them as permission to download a track and include it in any external advertisement. Check music and image rights separately when planning promotional material. A short internal record of the permitted use and a terms link is useful; publishing personal licence documents is unnecessary. If the basis for use is missing, choose appropriate permitted material instead of trying to repair that gap through a permission toggle or a copied file.
5. Identify the owner and the correct experience #
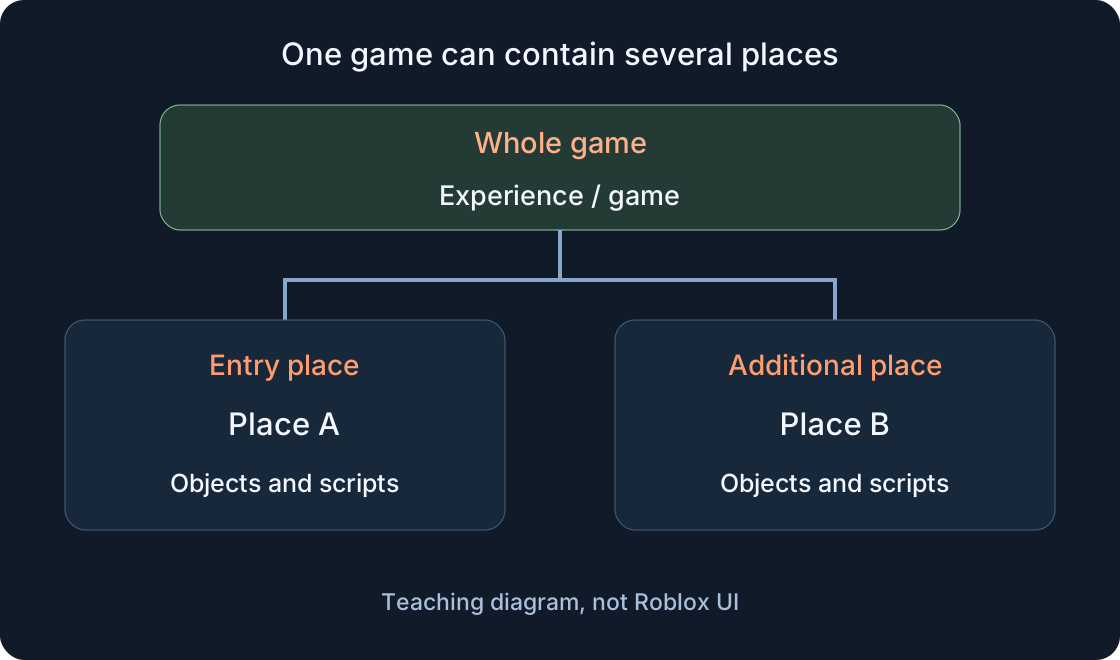
Access concerns an experience, identified by its universe ID; a place ID identifies one place within it. Record these in separate fields when several places are involved. A launch-page address can help identify the place, but its number does not thereby become a universe ID. Confirm the context in Creator Dashboard: a personal experience and a group experience can have very similar names.
A collaborator’s access to an asset does not itself establish the experience’s access. Roblox describes access to your own assets in your own published experiences, but another owner or collaboration context needs its own check. Copying a place into a new experience creates a different access context. A record saying “checked in room A” must identify the actual experience, otherwise teammates may extend that result to another publication. Visible asset metadata does not itself prove that the game may load the asset.
6. Inspect the permissions that already exist #
For your asset in Creator Dashboard, follow Development Items → Audio → the asset → Permissions → Experiences. For an experience, select it and follow Configure → Permissions. Compare existing entries and the correct owner; this is an inspection, not an instruction to add a grant. If your account cannot open the relevant section, ask an authorised owner to confirm the context rather than bypassing their controls.
The experience list shows restricted assets granted to that experience. An Open Use audio asset missing from that list does not by itself establish a denial. The general Asset Privacy toggle controls the default for images, decals and meshes, not audio; it is not a universal audio repair switch. Avoid experimenting with access changes, some of which cannot be reversed. Record observed and unknown states separately: “could not inspect permissions” is more accurate than an unsupported claim that the experience has no access.
7. Identify the audio object system #
Find the object intended to play the tone in the existing project. Sound uses SoundId for its asset reference. The modular system uses AudioPlayer; its current API reference names Asset and marks AssetId deprecated. Some learning pages still use AssetID, so compare the class with its current reference rather than guessing a replacement property name from an older tutorial.
For a new modular plan, describe the route: AudioPlayer produces a stream, and Wire connects it to AudioDeviceOutput for nonpositional audio. A spatial route additionally needs AudioEmitter and AudioListener with their corresponding connections. Inserting a source alone does not describe a complete path to the speakers. Draw your project’s actual connections and mark the branch used by the door. Do not migrate the whole experience between systems to investigate one fault; first understand and check the architecture already selected.
8. Check loading separately from playback #
Sound.IsLoaded helps check loading; AudioPlayer.IsReady represents the corresponding readiness stage. Neither promises an audible tone. In diagnostics that your project already provides, inspect the relevant client at the relevant moment, rather than relying solely on a server observation. If that observation is not available, write “loading not checked” instead of inferring it from silence.
Check initiation separately: what should request playback, and did that event occur? AudioPlayer.AutoLoad concerns loading, not an unconditional start. AutoPlay has conditions relating to object creation and is not a general guarantee for replicated objects. In Sound, setting Playing while editing does not immediately play the sound. Do not treat a pre-session state as a gameplay result. Record the observation stage, the door event and the actual playback attempt so a later test can locate where the route stopped.
 Open full-size image ↗
9. Trace the route to the listener #
Once loading and initiation are confirmed, check stream direction and volume. For modular nonpositional audio, compare each Wire’s SourceInstance and TargetInstance with your drawn route. In a spatial configuration, identify the source, listener and their distance separately. A stream connected to the wrong destination is not explained by replacing the asset ID without inspecting the connections.
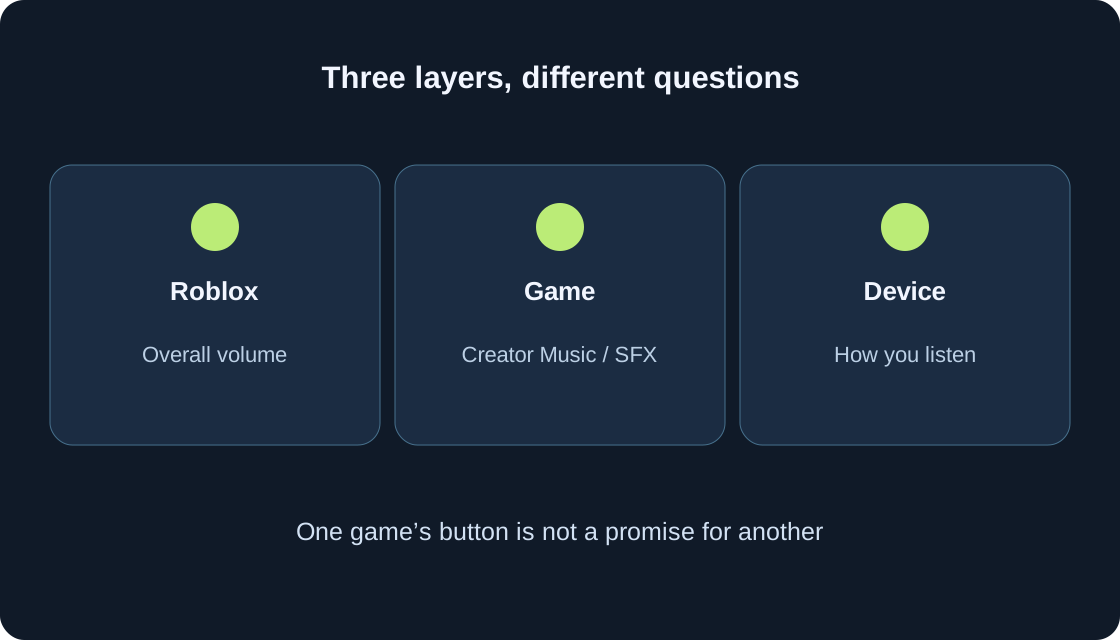
In an existing Sound system, parenting the sound to a BasePart or Attachment makes position and listener distance relevant; outside those objects it is global. Check Volume, any assigned SoundGroup, and the class’s spatial settings. In the practice room, compare the same event nearby and farther away while preserving other conditions. “Audible only nearby” is a distance observation, not an automatic permission diagnosis. Player volume and the physical output device can be checked through the separate sound-controls guide; microphones are outside this route.
10. Capture the error and change one variable #
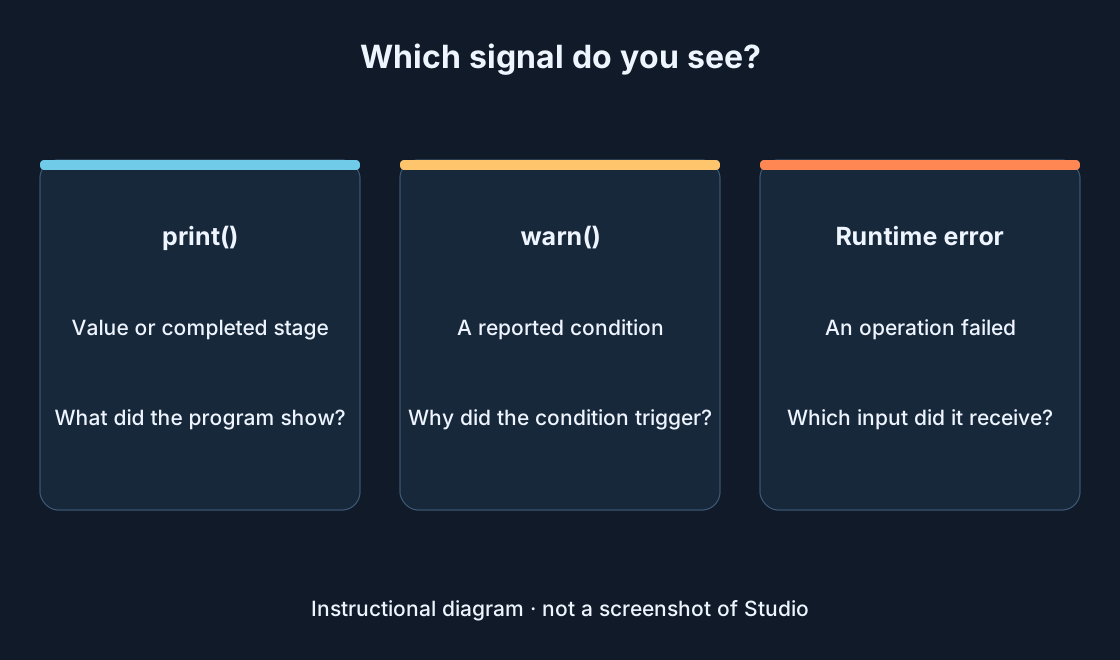
In Studio, open Output through the Window menu or Script toolbar. Choose the relevant client or server context, locate messages from the event time, and keep exact wording with the associated asset ID. Finding nothing after filtering is not proof that no error occurred. Exclude tokens, personal details and unrelated people’s information when sharing neighbouring log lines.
For comparison, use only two audio assets whose rights and experience access have already been checked. Preserve the objects, trigger and volume; change one asset and record A/B observations. This is a test plan, not a completed measurement table. If both remain silent, investigate the shared route next; if only one differs, return to its asset record and messages. Do not extend an editor observation automatically to the published experience: identify where it happened and schedule a separate client check of the intended publication.
11. Pick the next check from the symptom #
Use the second table as a route, not a list of conclusive diagnoses. A wrong asset type calls for inspecting its page; an explicit access message calls for checking the experience and permissions; a loaded but silent source calls for investigating initiation and output. Avoid trying every change in succession. You will lose the original state and the ability to explain which change affected the result.
For the door tone, prepare three separate records: the initial configuration, a repetition of the same event, and one justified comparison. Describe each as “audible”, “inaudible” or “stage unknown”, and include a relevant message when available. Do not invent successful results to complete the worksheet. If the experience changes settings when the character appears, record the actual state after that event. A value stored in the editor may no longer describe the runtime object whose behaviour you are investigating.
| Observation | Next check | What it does not yet establish |
|---|---|---|
| The page identifies a model or image | Verify the asset type on its page | That the number can reference audio |
| Output explicitly reports denied access | Compare asset, owner and experience universe ID | That volume will resolve the problem |
| Loading has not been confirmed | Capture the relevant client state and messages | That permissions are necessarily the cause |
| Loaded, but initiation is missing | Check the trigger and invocation path | That you need another recording |
| Initiated, but inaudible | Check output, connections and volume | That the ID is necessarily incorrect |
| Audible nearby, inaudible farther away | Check listener and spatial settings | That the experience lost access |
| Editor and publication differ | Compare experience, version and client context | That an earlier observation transfers automatically |
12. Hand over a reproducible report #
Collect the audio page, verified type and identifier, owner, experience and place, Explorer object path, audio system and trigger. Add the expected tone, observed outcome, observation context, time, volume settings and relevant Output lines. Mark which stages remain unchecked: permissions, loading, initiation or the listener. This lets the next teammate continue at the right stage rather than repeating unrelated changes.
Keep an audio register with the project documentation: purpose, basis for use, experiences with confirmed access and last check. Repeat the plan in the context of a new publication rather than trusting an old ID list. Until the door tone is fixed, provide readable visual confirmation so sound is not the only way to understand success.
Original sources
Roblox Creator Hub — Audio assets and asset identifiersRoblox Creator Hub — Asset privacy and experience permissions
Roblox Creator Hub — Audio objects and stream connections
Roblox Creator Hub — Current AudioPlayer API
Roblox Creator Hub — Sound and SoundId reference
Roblox Creator Hub — Output window
Roblox Creator Hub — Asset references and status
Roblox Support — Audio files and community requirements
Roblox Support — Licensed music use on Roblox