For players / ROBLOX
Roblox avatar items: equip, remove and check your look in a game
Step-by-step checks for browser and mobile: owned items, clothing, body shape, skin colour and accessories. Includes an editor-to-game exercise, two diagrams and troubleshooting tables.
 Open full-size image ↗
Decide which appearance you want to change #
Start with one task: put on a hat you already own, remove a backpack or choose a body colour. Players use “skin” for several different changes. Searching only for “change my skin” can send you into another game’s shop when you actually need one item in the Roblox editor.
This guide helps you identify the change, make one adjustment and compare the result. The example hat and jacket are fictional teaching labels, not promised gifts. No purchase is required. Choose an item already belonging to the intended account; seeing an attractive picture in search is not evidence that you received that item.
1. Separate body, clothing and an in-game look #
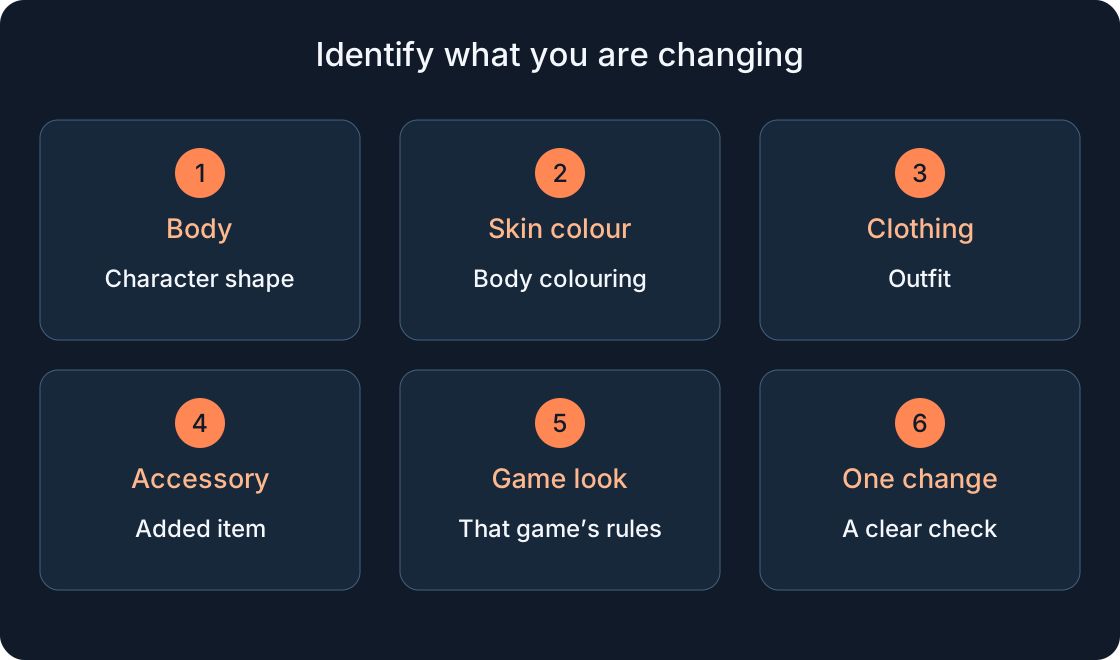
Describe the goal precisely: “a different head shape”, “a blue arm”, “a jacket”, “a backpack” or “this game’s character costume”. These are five different tasks. Body refers to the character’s shape, skin colour to its colouring, clothing to an outfit and an accessory to an added item. The word “skin” does not identify a category on its own.
Use a particular creator’s instructions for an in-game appearance. Do not assume it belongs to your platform wardrobe without that information. The table helps you name the task before clicking. If the goal is to remove a backpack, changing body colour does not test it: find the backpack itself rather than a vaguely similar silhouette.
| Goal | What to distinguish |
|---|---|
| Change the character’s shape | Body and body parts |
| Change body colour | Skin colour, separate from clothing |
| Wear a jacket | The exact clothing item |
| Remove a backpack | The exact accessory |
| Choose one game’s costume | Its own appearance system and rules |
2. Confirm the account and the owned item #
Before editing, check the account you have opened. On a shared device compare the username, locate the owned item and record its name. A familiar avatar is not enough: two family accounts may look alike. If the item is not among those available to you, establish where it was supposed to come from first.
Prepare a short note: account, item, category and expected change. If it was an event reward, keep the actual receipt message separately. Do not include a password or sign-in code. Our codes guide distinguishes receiving a reward from editing appearance; equipping an item here does not perform a purchase or grant a new item.
3. Equip one item in a browser #
Browser: Avatar → category → item icon. Selection is highlighted.
Teaching example: your starting look has no hat and you want one specific hat to appear. Keep the original look for comparison, select the hat and inspect the head in the preview. Leave hair, body and clothing unchanged for now. That lets you explain what produced the difference. If the card is missing, return to the precise name and category. Choosing the first similar object just to finish the step does not answer the original question.
4. Remove the item and test the reverse change #
Click the highlighted item again to remove it; use Redraw if available.
Now reverse the example: the same hat should disappear from the expected place. If the result is unclear, do not add three more items on top. Confirm the selected object and compare before and after. “There is no hat on my head” and “the item was deleted from my account” are different claims. This article changes the equipped look; it does not sell, transfer or delete an owned item. Record the visible result before moving on to the next adjustment.
5. Find the right area on a phone or tablet #
Avatar is becoming Me by region. Phone: Wear This Yes/No. Tablet: More → Me.
Match the task to the interface in front of you rather than the exact button position in an old screenshot. A tab still called Avatar is not, by itself, a fault. Open the owned item, change only its equipped state and inspect the result. For a small screen, work with one item: note its name, remove it and equip it again. If the layout differs, read the current source below and record the name of the section that you can actually see.
6. Treat skin colour and body shape separately #
Browser colour route: Head & Body → Skin Tone. Mobile support uses Me → Customize → Body → Skin. Test shape and colour separately.
Choose an observable goal such as “this arm has the intended colour”, rather than “everything looks nicer”. Inspect the character without the new outfit first, then restore clothing and compare exposed areas. A jacket covering the arms does not show whether body colour changed. Replacing the head to solve a backpack question also mixes variables. Change one parameter per pass and write down what you inspected. The record makes it easier to return to the earlier look without guessing which of several adjustments mattered.
7. Why the character can differ inside a game #
Creator Hub documents game settings that can change players’ bodies, clothing and accessories. The account editor and one game’s character are therefore separate checks.
One launch does not establish that an item was lost or that a developer made an error. Compare the exact detail you changed with what remains visible in the game. Note whether the game offers its own costume menu. A game using a shared character look may not match the platform outfit you expected. This article does not confirm any specific avatar configuration for the five games in our catalogue; each would need a separate check. Keep your observation narrower than your conclusion.
8. Compare three places without changing everything #
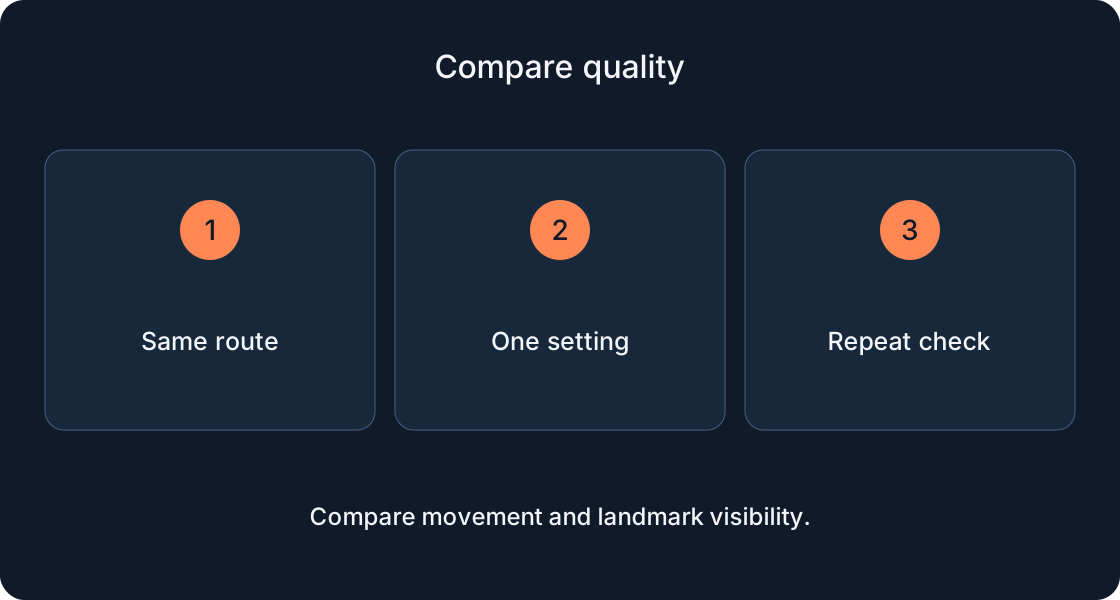
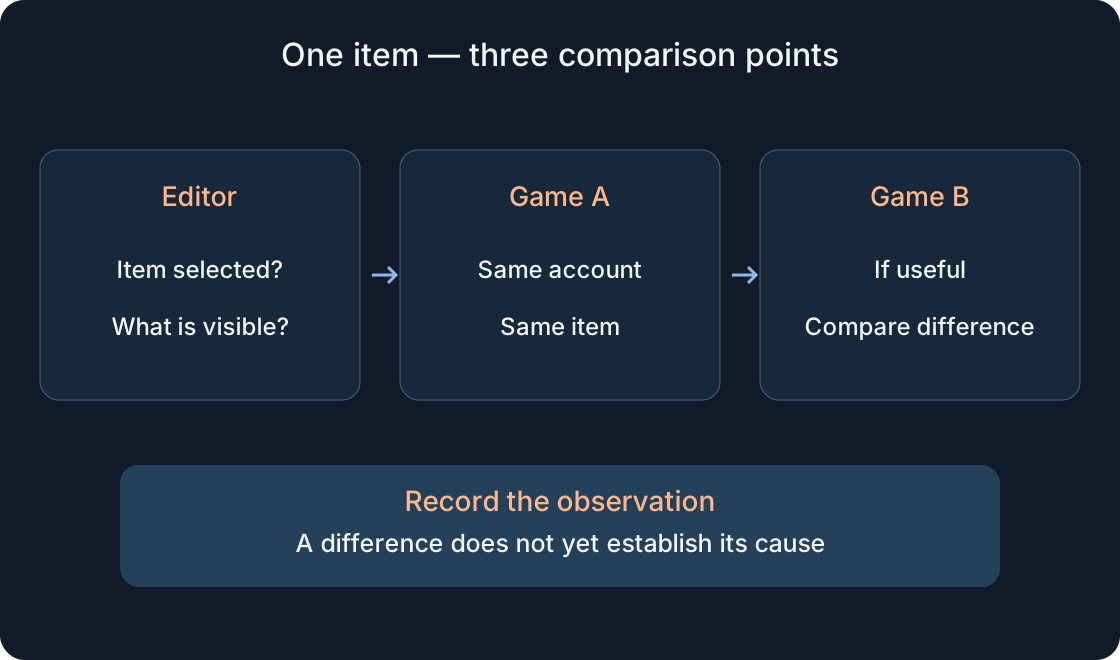
Our teaching exercise is to choose one owned item, inspect it in the editor and then in the selected game. Write the game’s name and the visible difference. If useful, compare a second accessible game with the same account and the same item. Do not change the whole body or outfit between attempts.
A sample note is: “Backpack visible in editor; absent in game A; visible in game B.” That is an observation, not proof of a restriction or a bug. It helps choose whom to ask next. Changing account, item and game at once makes the results stop answering your original question. The diagram illustrates a method, not Roblox screenshots.
 Open full-size image ↗
9. When the avatar becomes grey blocks #
Roblox links grey block avatars to regional availability. For your own character, support suggests equipping or removing an item in the editor. This is a check, not a guaranteed fix.
Record whose character it is, where it appears and which item changed. Someone else’s grey avatar does not establish that your purchase disappeared. Availability and receiving an item are separate questions. Do not buy another copy in the hope of solving an unconfirmed cause. Use the options available in your region; this guide does not propose changing region or bypassing restrictions. If the outcome remains unclear, contact support with your specific observations instead of a guessed diagnosis.
10. Read the symptom before choosing a check #
The troubleshooting table separates situations: an item is missing from your available choices, selected but invisible, or different only inside a game. Start with the row matching your screen and change one thing. Running every check without recording an outcome makes it harder to understand the original problem.
Teaching example: a player finds and selects a jacket, but the game character wears a uniform. Compare editor and game first; finding another jacket redemption code does not help that question yet. If the item was never found in the account, begin with its name and how it was received. The table does not diagnose a cause from one symptom or guarantee restoration of an item.
| Observation | Next check |
|---|---|
| Item not found | Name, category, account and actual receipt |
| Selected card, unclear appearance | One item, starting image and preview |
| Different body or uniform in game | Compare editor and game without other changes |
| Clothing covers the body | Check exposed areas, not the jacket’s colour |
| Grey block character | Whose character, where it appears; official source |
| Still unclear | Record steps and ask the appropriate support channel |
11. Finish the comparison or ask for useful help #
You have a useful result when you can name the item, intended account, action and visible outcome. Return to the initial state and repeat one adjustment if you need a second test. Do not record success in the editor as success in every game. Keep the short description beside a private screenshot.
For official support, provide username, device, item name and exact steps. For a question concerning only one game, use its creator’s available feedback channel. Remove personal information from the image before sharing. Never publish passwords or login codes. Helpers do not need the entire history of your outfits: one reproducible example, a before-and-after comparison and the relevant item link, if known, are more useful.
Original sources
Roblox SupportRoblox Support — mobile avatar editor
Roblox Support — avatar item availability
Roblox Creator Hub — game avatar settings
Roblox Support — inventory on mobile
Roblox — account avatar editor
Roblox Support — contact