For players / ROBLOX
How to capture and save Roblox screenshots: Captures, files and error evidence
Choose a useful frame, find it in Captures and verify a separate saved file. Learn when interface evidence is needed and how saving differs from Share and Moments.
 Open full-size image ↗
1. Choose the capture type for the task #
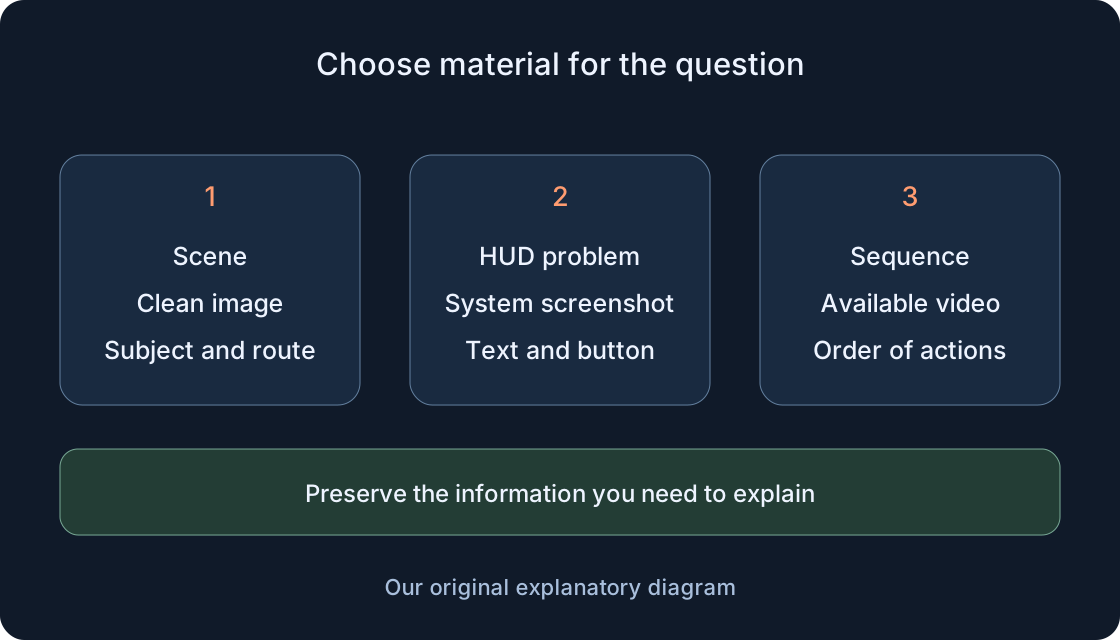
Built-in Captures removes in-experience interface elements and names above avatars. That suits a scene, but not every error report: a missing button, incorrect counter or prompt may also disappear from the image. For a HUD problem, use a system screenshot and confirm that the relevant text is visible. The comparison table helps choose the intended output before pressing anything.
Consider a practice example: a player cannot understand an obby fork. A clean frame shows platform positions; an interface frame preserves a direction prompt if that prompt is the problem. Sometimes both are useful: one explains the surroundings and the other records the symptom. Do not replace an observed error with text drawn afterwards. The recipient needs what was actually visible, while your caption explains the expected result and the action that preceded it.
| Purpose | Material | Verify |
|---|---|---|
| Show a scene | Clean Captures image | Subject and landmarks are visible |
| Explain a HUD problem | System screenshot | Relevant text and button remain |
| Show a sequence | Short video if available | Actions appear in the correct order |
| Provide a separate file | Exported image | File opens outside Roblox |
| Post video in Moments | Eligible gallery video | Availability and publication confirmation |
2. Prepare a readable composition #
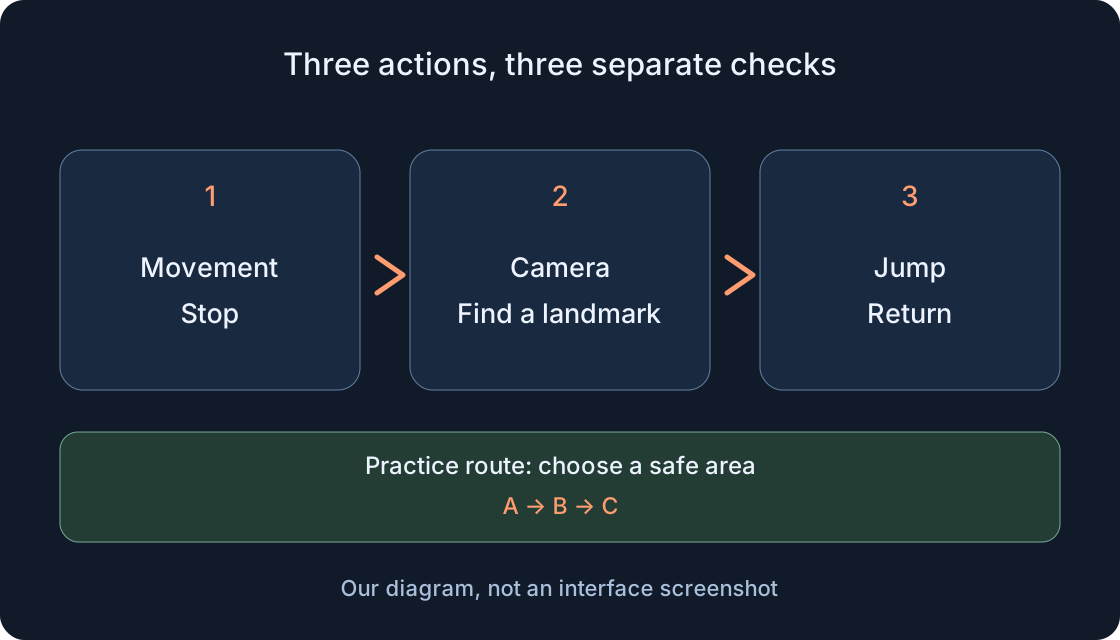
Choose a safe standing position and let the camera settle. Keep the important object unobstructed by your avatar, with enough surroundings to communicate scale and direction. An instruction often needs one recognizable landmark more than a distant view of the entire world. Decide what the picture must show, then adjust angle and distance. Avoid changing unrelated game settings just to obtain one image.
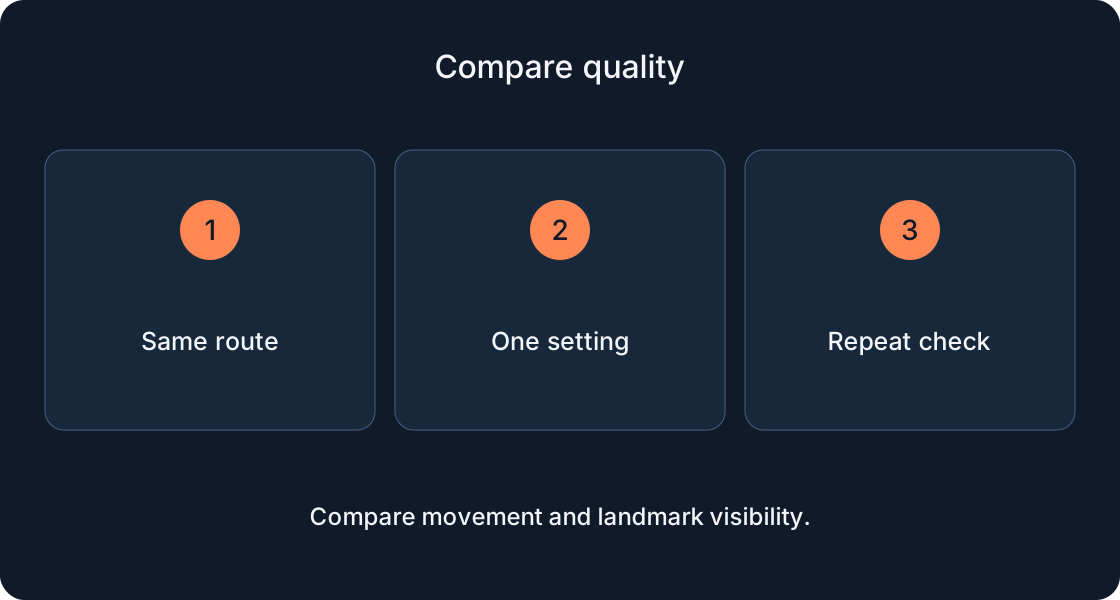
Imagine the frame at a small size: can you recognize the path, door or item? If not, move closer or choose another angle. For two-state comparisons, retain the same camera position and label their order. Changing lighting, graphics and location simultaneously makes differences harder to explain. This is preparation for useful material, not a promise that taking a capture pauses the game or makes a dangerous location safe.
3. Take a built-in screenshot #
On desktop or mobile, while inside an experience, open the upper-left menu, choose Captures and use the capture icon that appears on the right. For this procedure choose screenshot capture: the result should be a still image. If the current tool also offers video, check which type is selected before acting. Do not start recording simply because an icon occupies a familiar position.
Take one frame and inspect it immediately rather than pressing repeatedly. The feature allows the capture icon to be removed through the menu when it obstructs controls. If an action is unavailable, record the stopping point: menu, Captures selection, icon or completed image. Not finding a file yet does not prove a failure; first establish whether a capture appeared in the gallery. Avoid opening menus during a game step that cannot safely be interrupted.
4. Inspect the image in the Captures gallery #
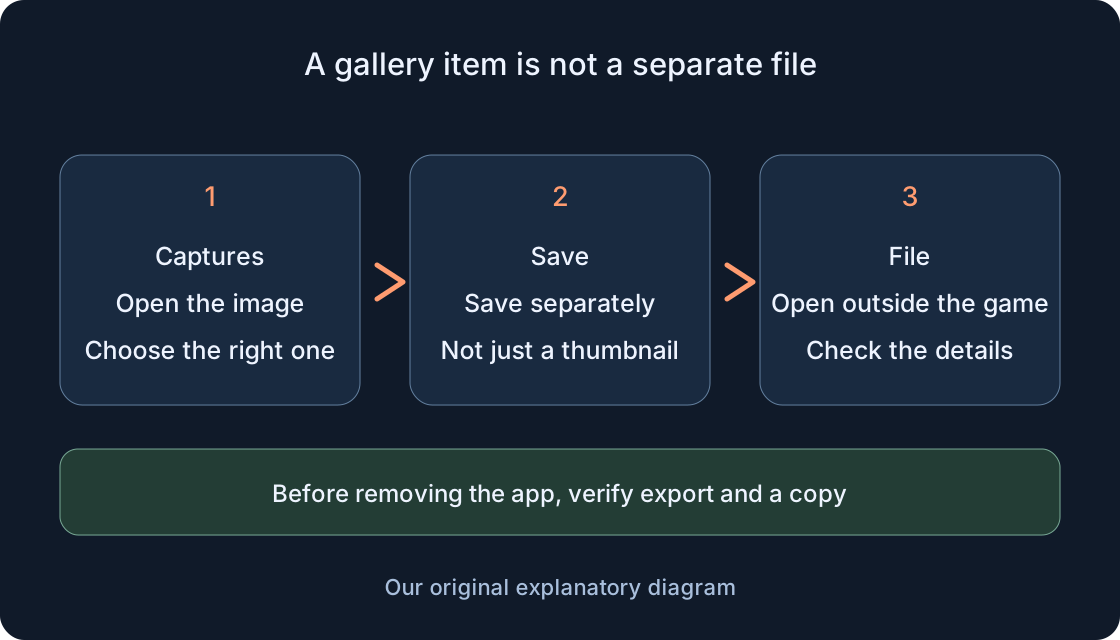
The gallery is accessible from a running experience: open the Roblox menu, select Captures, then select a thumbnail to inspect it in the carousel. Open the new image and compare it with your intended scene. Check that it is a still image rather than a video or an older similar angle. A thumbnail helps locate material; the enlarged view reveals whether the important detail remains readable.
Apply three checks: the main object is present, the surroundings provide enough context, and interface cleanup has not removed something essential. If the image fails the task, return to composition. Select the best frame for its meaning rather than automatically selecting the most recent one. Keep alternatives until the selected image’s export is verified; premature cleanup complicates recovery. Viewing a capture inside Roblox is not confirmation of a separate device file.
5. Save and open the separate file #
In the carousel select the intended image and press its save icon. Roblox Support names the camera roll on mobile and the Pictures folder on desktop as the destinations. Afterwards open the saved image through the device’s photo application or file browser, outside Captures. Find the actual picture by its content and time rather than relying on a brief notification.
Inspect it enlarged: it opens, is not blank, matches your chosen frame and retains the necessary detail. Record the actual storage location. A thumbnail visible only inside Roblox leaves export unconfirmed. If the device asks for access, read the request and allow saving only if you agree; do not bypass its restrictions. When attaching material, select the verified file itself. Pressing Save and opening its result are two different checks, both needed for this workflow.
6. Preserve important images before removing the app #
Captures initially stores screenshots in Roblox application storage. Support says deleting the application deletes that gallery unless images were saved separately to the camera roll or desktop Pictures folder. Before reinstalling, export important material and confirm it opens outside Roblox. Signing into the same account again is not proof that the previous device gallery remains available.
For an important series, create a folder named by date and topic, copy the verified files into it and open each selected image after the transfer. Keep another accessible copy where practical; seeing a cloud thumbnail does not verify access to the original. Do not delete working material to test recovery. Record which images were copied and where they are stored. Saving game progress, saving a screenshot and making a backup are separate operations with separate evidence.
 Open full-size image ↗
7. Use a system screenshot for interface evidence #
On Windows, Windows + Shift + S opens Snipping Tool: select the region containing the problem and save the image from the tool. On Mac, Shift + Command + 4 lets you select a screen region; screenshots normally save to the desktop unless that destination was changed. Open the resulting file and check that your selection preserved the entire relevant message.
On Android the common route is Power and Volume Down together; consult the manufacturer if it does not work on your device. An iPhone with Face ID uses Side and Volume Up; Touch ID models use Home with Side or Top according to the model. Quickly release the buttons and verify saving; current iOS offers a save-location choice through its save button. Use the separate model instructions for iPad rather than applying iPhone buttons automatically.
8. Add context to error evidence #
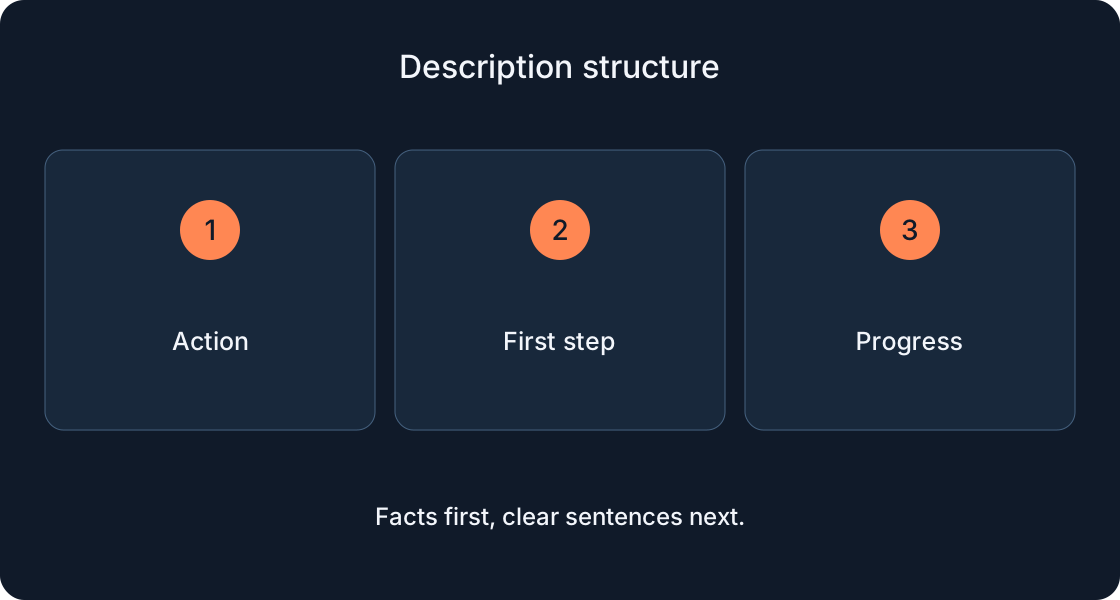
A useful report includes the game address, device and operating system, preceding action, expected result and observed text. Give the time and stage: the world was loaded, an inventory was open or a transition was underway. A practice observation might be “on a phone, after opening a task, its lower line overlaps the close button”. That describes something visible rather than diagnosing its cause.
Check text readability before sending. Two frames marked before and after can help when the same viewpoint is safely reproducible. Hide private conversations, notifications and secrets while retaining relevant elements. Keep the original separately from a redacted copy. Explain editing in the caption when it affects interpretation. Neither a password nor a login code belongs in this report. Avoid reproducing a disruptive failure repeatedly just to obtain a more attractive picture.
9. Separate Share, saving and an invitation #
Built-in screenshot sharing is available only to users aged 13+ on mobile devices. Open the image in Captures, select Share and an available recipient application. This flow adds an invitation to the current experience, but devices and applications do not all support sending the image and link together. Inspect what the outgoing message actually contains instead of assuming both were included.
If the capturing player has left when the link is opened, Support says the recipient enters the experience with a notice that the player is no longer there. The link therefore does not promise a meeting, and an image does not prove an invitation works. A verified saved file may suffice for showing a scene. Do not change an age setting to evade sharing restrictions. Automatic interface cleanup cannot replace checking whether the image and caption suit the receiving platform.
10. A screenshot, video and Moment are different outputs #
A screenshot records one instant; video can explain a sequence. Built-in video also removes UI: for a moving HUD problem, verify that the chosen recording method preserves interface evidence. If a problem only appears during movement, a still frame may be insufficient. First write the short action sequence and decide whether recording is necessary. An image contains no sound and does not show an event’s speed. Do not describe one picture as a video or treat placement in a capture gallery as Roblox publication.
Moments is described as a beta. Its documented posting route concerns gallery videos: enter Moments, use plus, select the video, edit, Post and remain for confirmation. Support lists Moderate/13+ at launch, published-video moderation and exclusion of Restricted experiences or those lacking maturity labels; external files are not uploaded through this route. These conditions do not govern every screenshot save. Availability of video capture also depends on creator settings; check the actual interface and current guidance.
11. Find the unfinished stage #
If the result is missing, identify the last confirmed stage: created, opened in Captures, exported, located outside Roblox or sent. These stages call for different next checks. The table does not diagnose a cause from one symptom. It helps obtain a new observation without reinstalling, clearing data or generating dozens of replacement frames.
For an export check choose one unmistakable image. Note the time, press Save once, find it outside the application and open it. If access is refused, record the exact message and available choice. When the clean image has removed the HUD, repeating Save is pointless: another capture type is needed. If Share sent only an image, inspect whether a link was included separately. Record the previous action’s result before repeating it so similar files do not become confused.
| Observation | Next check | Result criterion |
|---|---|---|
| Capture icon missing | Open the menu and Captures; record available items | Correct tool found or exact unavailable stage recorded |
| Only a Roblox thumbnail visible | Open the image and use Save | Separate file located and opened |
| Wrong frame was saved | Compare content and time with the carousel | Export matches the selected image |
| Required HUD is absent | Take a system screenshot with the problem visible | Relevant text is readable |
| Saving access refused | Read the request and available choice | Permission outcome or exact refusal recorded |
| Share sent only an image | Inspect the message in the chosen application | Link presence or absence established |
| Gallery missing after Roblox removal | Check previously exported files and copies | Actual files found, without a recovery promise |
12. Assemble material for instructions or promotion #
An instruction can use three distinct frames: a landmark, a specific action and the observed outcome. Caption each with what is visible and which step it explains. That is a plan for future capture, not a claim that images already exist. For promotion select a readable gameplay scene; for the development team retain interface evidence too when checking a label, button or counter.
Name files in order and keep date, device, game address and purpose alongside them. Before publishing, check material permissions and the destination’s rules. Do not present a concept image or staged diagram as actual gameplay. Final checklist: correct image type, readable subject, separately opening file, verified copy, explanatory caption and suitable destination. A capture then becomes useful material you can find and explain rather than an unidentified item left in an application gallery.
Original sources
Roblox Support — Screenshots and CapturesRoblox Support — Video capture and interface removal
Roblox Support — Moments beta and video publication
Microsoft Support — Snipping Tool
Apple Support — Mac screenshots
Apple Support — iPhone screenshots
Android Help — screenshots